Archives for General Photography category
The site I mentioned a few days ago, Faded & Blurred, is hosting a 365 photo project. What is that you ask? It is when you take one photo a day, everyday, for a year and share it with the group participating in the project.
I signed up for this as a challenge to myself. I shoot as often as I can, but the daily obligations of life often prevent me from picking up my camera for days at a time. There are also days when I have no motivation or inspiration to photograph (although they are rare). So to be “obligated” to produce one photograph a day for an entire year I will be forcing the photography I love to become a part of my daily routine.
I image one of the hardest parts at the beginning of this project will be to remember to do it everyday – until it becomes routine. After that is will be finding daily inspiration in something and making the time to do it. But I am excited by the possibilities and the challenge.
If it is something you are interested in doing you can join the Faded & Blurred community here and check out the Flickr group where the daily photos from participating members will be posted.
The fundamentals such as proper exposure and composition are a critical part of photography. By understanding these photography fundamentals you can improve your images immensely. But there are also some very basic things you can do without much studying or mastering new concepts.
1) Know your camera, really know it! – Whether you have a point and shoot or an advanced DSLR your camera is a sometimes complex machine full of features, buttons and dials. The best thing you can do to really know your camera is to read the manual from cover-to-cover. The manual will give you all the basic information you need so that you can become familiar with all those functions and dials and buttons.
If you don’t have a manual for your camera you are not out of luck. There are a couple of options for missing camera manuals.
- Most camera manufactures have online versions of their manuals available for download. Here are some of the more common ones:
- For an even more comprehensive “manual” than the one that came with your camera try the Magic Lantern series of books
 . These are well written and detailed guides to your camera that guide you to everything you need to know about your camera.
2) Take your time – Rushing through a photo shoot is going to result in images that look like you rushed. Take the time to explore your subject; to shoot from different angles; to really think about what you are shooting and the end image you would like to capture.
3) Pay attention – Pay attention to your surroundings and those of your subject. Yes, the subject itself is important, but so is everything around it. A distraction in the background can ruin the perfect shot. If you have ever seen a tree growing out of the top of someone’s head in an image you know what I mean about the background. But it is not just the background that is important. All the elements of the setting can influence the final image. Here are just a few things to be on the look out for:
- Shadows – yours, your subjects and any others that might be creeping into your image
- Distractions – in the background or in the foreground – anything that takes the focus off your main subject
- Lighting – Glare, bright spots, dark spots, uneven lighting
4) See what everyone else is doing – One of the best ways to improve what you are doing with your photography is to see what your fellow amateur photographers are doing. The Internet is full of resources for this. Look, ask questions, make comments, post your own photos, ask for feedback. Participate in the online photography community. Here are a few places to start you off:
5) Shoot, shoot and shoot again – Cliche as it is, practice makes perfect. Even if you don’t know the difference between shutter speed and aperture you can improve the images you capture by shooting and shooting often. But don’t just shoot. Take a critical look at your images and note what you like and what you would like to improve on next time.

Arizona Biltmore Lobby Tree Decorations
f/2.8 – 1/10 sec – ISO 400 – Focal Length 50 mm
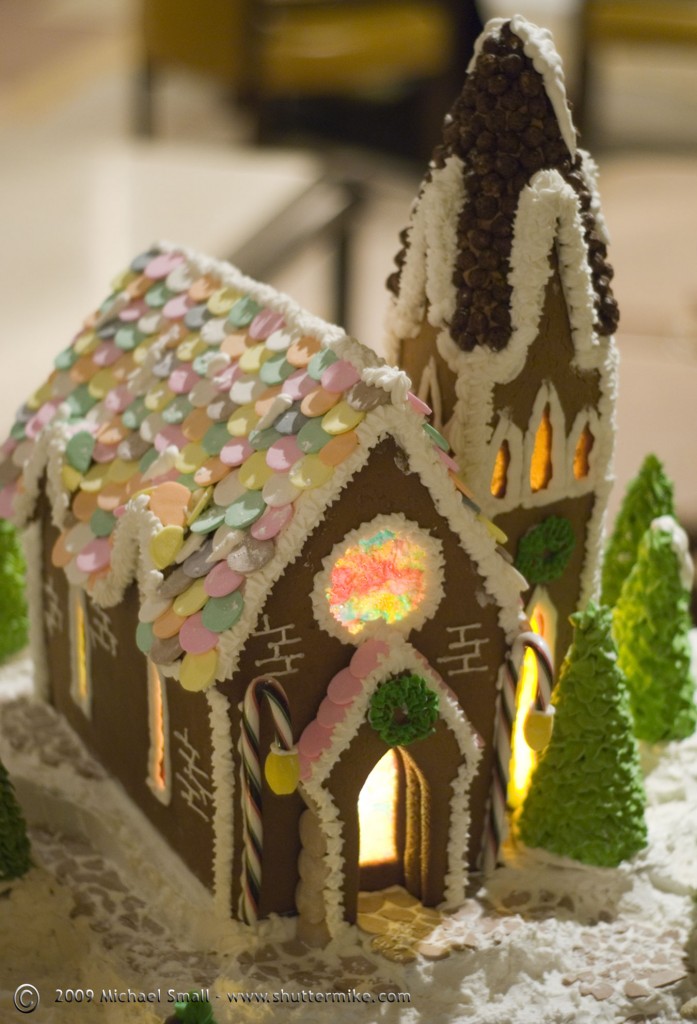
Gingerbread House in the Arizona Biltmore Lobby
f/1.7 – 1/8 sec – ISO 200 – Focal Length 50 mm
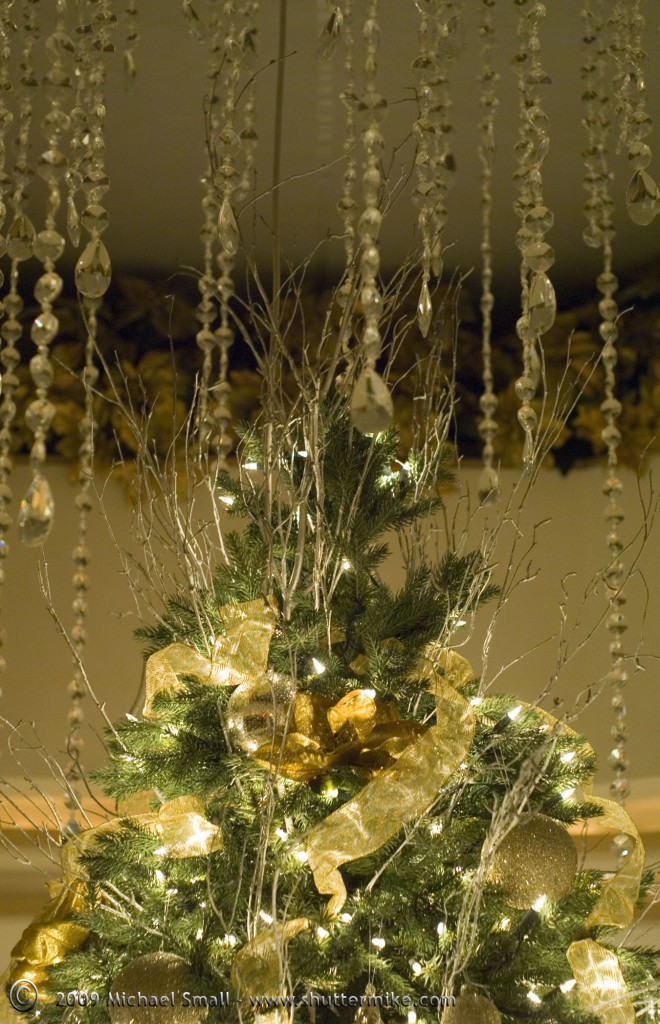
Lobby Christmas Tree at the Phoenician Resort
f/2.5 – 1/15 sec – ISO 400 – Focal Length 50 mm
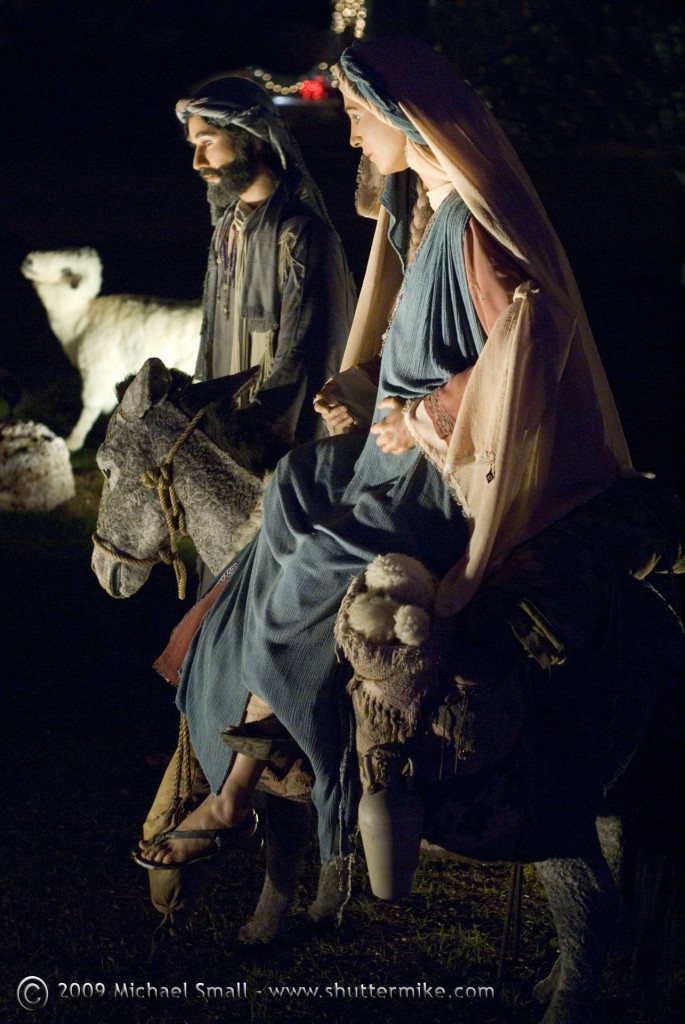
Nativity Scene at the LDS (Mormon) Temple in Mesa, AZ
f/2.8 – 1/15 sec – ISO 800 – Focal Length 50 mm
There are many Christmas light displays, both public and private, in the Phoenix area. Some of those are stand out opportunities to capture some Christmas spirit with your camera. As Christmas fast approaches there is still time to get out and see and photograph some of these beautiful displays. Here are some of the more colorful and well done displays around the valley.
- Mill Ave – The APS Fantasy of Lights displays 1000’s of lights in the Mill Ave. District in Tempe. The combination of the historic buildings and the bustling atmosphere of Mill Ave. with the Christmas lights make for some ideal photograph opportunities. With a tripod and proper exposure settings you should be able to create some great holiday images.
- Arizona Biltmore Resort and Spa – The Biltmore’s Christmas decorations are very classic which is appropriate for this classic Frank Lloyd Wright influenced historic resort. From the enormous live tree towering over the hotel to the collection of ginger bread houses these Christmas decorations and the architecture and furnishings of the resort make for a great setting for photography.
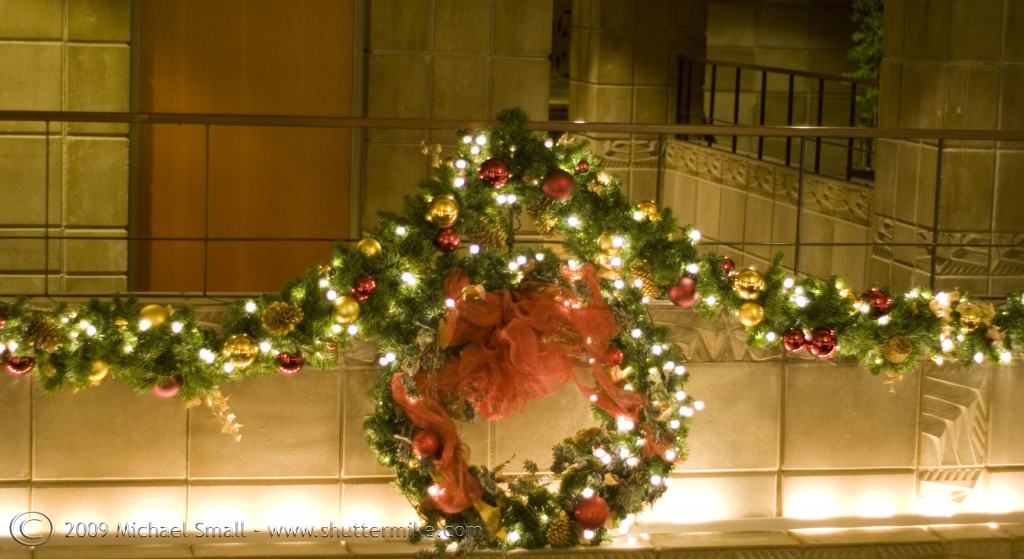
Arizona Biltmore Resort Lobby
f/1.7 – 1/8 sec – ISO 200 – Focal Length 50 mm
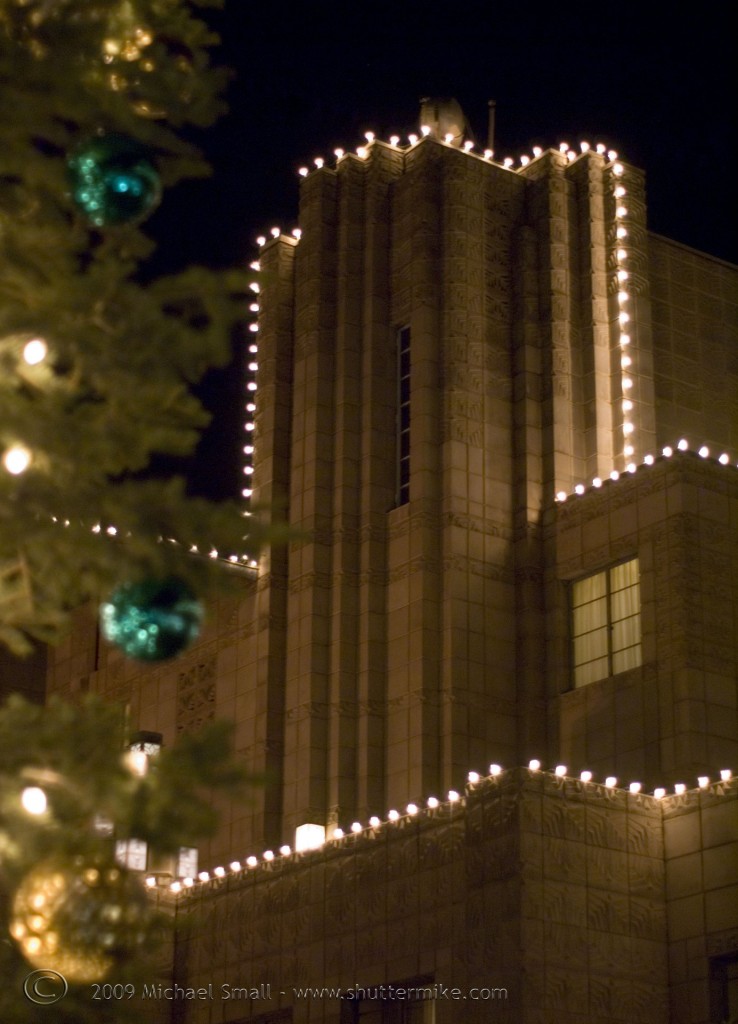 Arizona Biltmore Resort
f/1.7 – 1/15 sec – ISO 400 – Focal Length 50 mm
3. LDS Temple – Mesa, AZ – The Mormon Temple in Mesa does a fantastic job of stringing up the Christmas lights. The large temple complex is decorated with traditional Christmas lights and biblical scenes. Set against the backdrop of the monolithic stone temple this makes for a chance to capture some beautiful images. Be sure to take the time to explore the details of the temple grounds; particularly the reflecting pools that bring a very different perspective to the building and Christmas lights.
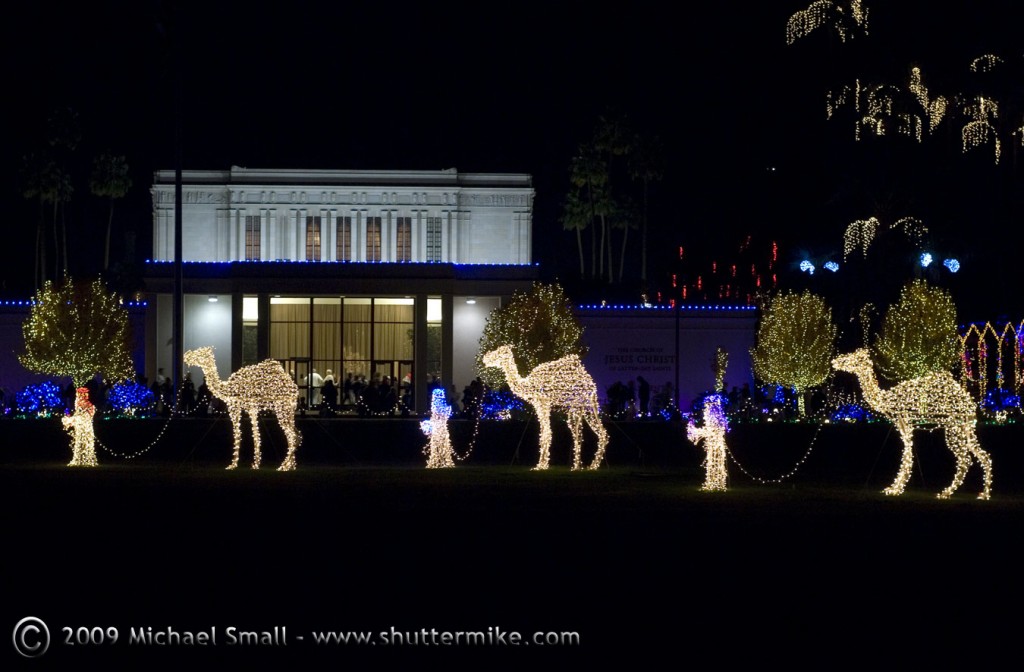 Mormon Temple Christmas Display
f/4.5 – 1/8 sec – ISO 400 – Focal Length 50 mm
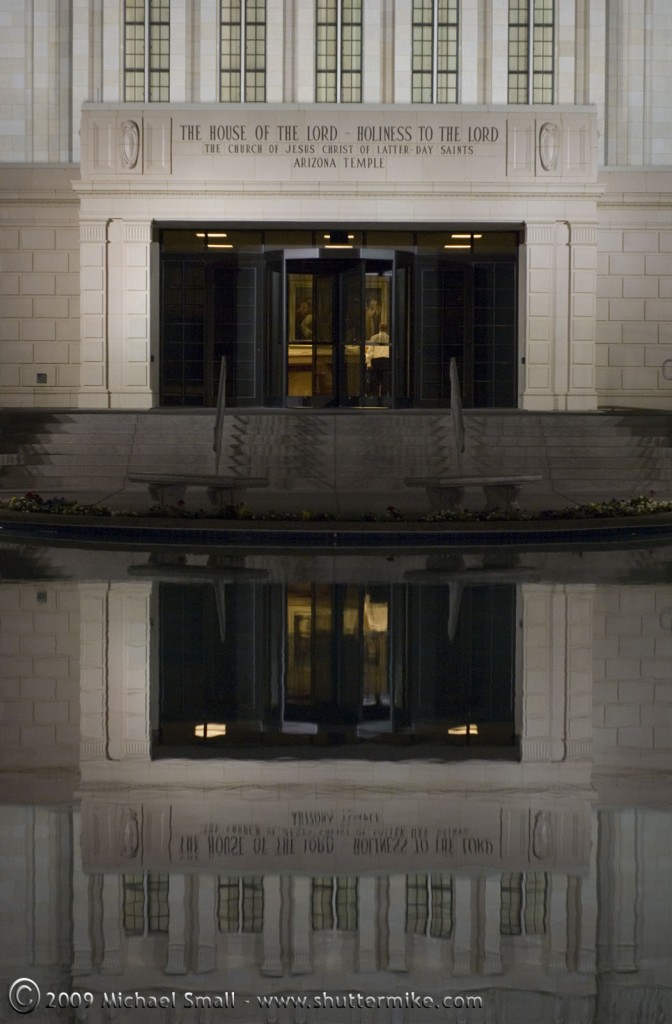 LDS Mormon Temple – Mesa, AZ
f/2.2 – 1/30 sec – ISO 400 – Focal Length 50 mm
4. McCormick Railroad Park – Scottsdale, AZ – The McCormick Railroad Park in Scottsdale drapes most every surface of the trains in Christmas lights. There is also a carousal and miniature trains on display which both make great subjects for holiday images.
5. Desert Botanical Garden – Los Noches de Las Luminarias – I wrote about the garden’s holiday display in the past and the garden generally makes most of my top photography lists for Phoenix. This display is much more of a traditional Southwest Christmas than the flashy bright lights of the others. But it is ideal for exploring with your camera and capturing some brilliant images.
Time is almost up! If you are one of the last minute procrastinator shoppers and you have a photographer on your Christmas list this year, you are in luck. Here are a few gift options for photographers that you will not even need to leave your computer to buy or pay extra for express shipping.
 Flickr Pro Account – Flickr is one of the most widely used photo sharing sites on the Internet. It is especially popular among amateur photographers. They can post their images and share them with fellow photographers for feedback. It has a strong amateur photographer community as well being popular with the casual snap shot takers. For most people the free version of the Flickr account will suffice. But for the avid amateur who has a lot of photos to share the free version is probably too limiting. So the Gift of Flickr is perfect. Flickr makes it easy for you to buy a year subscription to a Pro account for $24.95 and even provides a gift card for you to print. And no need to fight your way through the mall on Christmas Eve.
 Mozy Online File Backup – There is one thing every digital photographer needs and that is BACKUP. Burning CDs can become tiresome and you still need to store them somewhere safe. One of the best online storage services I have come across is Mozy. For $4.95 a month you get unlimited storage space to keep a backup of all your digital images perfectly safe. You will have to get a little creative with the gift giving on this one as I was not able to find a “gift program” from Mozy. But it is something every amateur photographer needs and will be grateful for.
 Magazine Subscriptions – Yes, I know this is the digital age and print magazines are considered passe by some. But I am not the only who still loves thumbing through and reading an actual physical magazine. And there are some great photography magazines out there. For under $20 you can get some of the most popular photography magazines
 sent right to the photographer on your list for a year. They will be reminded of your generosity 12 more times in the coming year. Sounds like a win-win situation!
 Photo.net Membership – You may not be familiar with photo.net, but chances are the photographer in your life is. Photo.net is part Flickr – but geared to the professional and serious amateur photographer rather than the casual online photo sharer – and part all encompassing photography resource. It is designed for critiques of member work – a critical step in improving one’s work – as well as sharing information and ideas with fellow photographers. You can easily give a 1 year membership for $25 and set the photographer on your Christmas on their way to being part of a great online photography community.
- Gift Cards – Yes, this is the old stand by “last minute gift.” But hey, they work and are more popular now than ever. One all-purpose gift card that any photographer can use to find something they are sure to like is the amazon.com gift card.
 I think the general rule is that if Amazon doesn’t have it, it doesn’t exist or at least you don’t need it. With a huge selection of photography books as well as accessories for most every camera a gift card to the online superstore can go a long way.
So stop procrastinating and take advantage of some of these great last minute Christmas gifts for the amateur photographer on your list.
The deadline for holiday shopping is getting closer. For anyone who has an amateur photographer on their shopping list here are 5 gift ideas under $50 that any amateur photographer.
 1) Remote Shutter Release – For anyone taking night photographs or long shutter exposures a remote shutter release is a great tool to have in their camera bag. It allows the photographer to release the shutter button without actually touching the camera. This cuts down any any excessive movement of the camera that may blur the image. If you are buying one as a gift you will want to make sure it is compatible with the camera your gift recipient is using. Whether you are buying a Remote Shutter Release Cord from amazon.com
 or someplace like B&H Photo they all list which cameras the remotes are compatible with. Prices range from $10 – $20.
2)  Back Up Battery – I always keep a fully charged extra battery in my camera bag. There is not much worse than being out shooting and seeing the low battery icon flashing with no fresh battery on hand to replace it. Like with the remote shutter release you will need to know what make and model of camera is being used to make sure you match the battery to the camera. There are no universal options with this one. But again some quick online research will get you what you need to know. You can find digital camera batteries on amazon.com
 and often on eBay. Depending on the brand and where you find it they can range from $25 to $50. If you are finding them much higher than that you can consider a generic version, just make sure it is compatible with the camera.
 3) Memory Cards – A supply of memory cards is essential especially when going on longer photography outings where you may not have the opportunity to download your images often. If your photographer is shooting in RAW format the cards can fill up quickly. Once again you are going to need to know what type of camera is being used because you must get the card format that is compatible with the camera. Card sizes range from 1 GB all the way up to 64 GB now. The higher the capacity generally the higher the price. But you can get a good mid-range card with 4 to 8 GB of storage for about $20 – $30 if you shop around. You might even find some great sales on higher capacity 16 GB cards for that same price range. Check digital camera memory cards
 at amazon.com, electronics retailers like frys.com or in brick and mortar stores like Target or Costco.
 4) UV Filter – Digital cameras don’t generally need filters for the lens as the effects of a filter can be done with camera settings or post-processing on the computer. But a standard UV filter placed on the lens will protect lens from scratches, dust and weather without impacting the result of the image. When selecting the filter the specific camera or lens brand does not matter but the diameter of the lens will determine which filter you need to buy. You can get this information from the front of the lens. There will be a size in millimeters preceded by this symbol: “ø”. For example ø55mm. Keep in mind that if your photographer has multiple lenses they may not all be the same diameter. You can get UV filters from good old amazon.com
 as well as any online or brick and mortar camera or electronics retailer. They range from $7 to $20 each so you can easily get one for each lens and stay within budget.
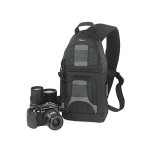 5) Camera Bag – I am of the thought that you can never have too many camera bags. Depending on the “assignment” you will want to bring different equipment. For a long weekend shoot the big guns may be required so you can bring multiple lenses and equipment. For a short day trip you might just need one lens and the camera itself. A mid-size bag makes a great gift. It allows for the photographer to bring just what is needed and easily tote it around for the day without too much baggage. I love the over the shoulder “slingshot” type bags, but there are a lot of options in the $30 to $50 range. As with most everything now the design options are expansive and you are sure to find something that matches your photographer’s tastes and style. Ebags.com is a great source for those $30-$50 camera bags and you guessed it you can always go back to amazon.com for a great selection of camera bags.
These are just five of many options for amateur photographer gifts for the holidays or any time. Simple equipment, how-to books, gift certificates to photo printing sites are all things they are sure to love and can put ot good use for their hobby. Happy shopping and Happy Holidays.
So what exactly is RAW? Contrary to popular belief it is not a file format like JPEG or TIFF. The term RAW simply refers to a file that has had minimal or no in camera processing performed on it. When shooting under the standard or jpeg setting in your digital camera the processor takes steps to manipulate the white balance, contrast, sharpness, and color saturation based on the setting you have on the camera or automatically based on how the camera is programed. After doing so the files are compressed to some extent. RAW file formats vary from one camera manufacturer to another. My Sony Alpha for example uses ARW.
Here are a few pros and cons (as I see them) to help you determine if shooting in RAW is right for you.
PROS of Shooting in RAW
1) More control in post-production
When you shoot in RAW the camera leaves it to you to do the processing of the image. This means you have total control over the image in the post production process (think PhotoShop). All the adjustments you may want to make such as white balance, saturation, levels, contrast, curves, image size, etc. are available to do on the original unprocessed image. If you have some skills with a program such as PhotoShop this kind of control can be invaluable and leaves the creative power up to you, not the camera.
2) No loss of image data from the JPEG conversion process
When the camera processes the image into a JPEG file format part of that processing involves some compression and therefore loss of original image data. A JPEG is a lossy file type meaning some data is “thrown away” each time the file is saved to the JPEG format. You will lose color saturation, color range and sharpness. This is not the case with RAW since there is no in camera processing.
3) You will always have your “negative” to go back to.
Unless you delete it or save the original as another format your RAW file will always remain as the untouched/unprocessed original “negative” of your image. This allows you to go back to it again and again and make changes. You can try different techniques and adjustments to get the final image you want without ever losing that original RAW file data.
CONS of Shooting in RAW
1) Larger file sizes decrease the number of images you can fit on your memory card
Since a RAW file is not compressed like a JPEG it stand to reason that it will take up more space on your memory card. For example I use a 4 GB memory card. When I set the image format to a standard JPEG I can get 1512 images on the card, a heck of a lot. When I change the format to RAW, I can get 266 images on that same 4 GB card. That is still a lot, but it is 1246 less than when shooting in JPEG alone.
2) You have to have the appropriate software to open the file
Unlike a JPEG, which can be read and edited (to some extent) with the standard photo software included with most PC and Mac operating systems, RAW files require more advanced software to be read and edited. If you are already using PhotoShop that should not be a problem, but it something to keep in mind. You do not want to shoot for a day only to find out you can’t open the image files.
3) You need more room to store the photos
Based on #1 the larger file size of RAW images is going to require more storage space. Just as your memory card can fill up quickly so can your hard drive space if you shoot often. The space needed can add up even quicker if you are editing your images and saving the edited copies as well as the original RAW file (which you should). A 1.5 TB (that is terabyte) drive for under $200 can easily resolve that issue, but the more you shoot the more space you will need.
I came across the Fraenkel Gallery recently thought I should share. If you have not heard of the gallery, as I hadn’t, it has been one of the top galleries focusing on photography in the US since 1979. It is located in San Francisco and has (and does) feature photographers such as Richard Avedon, Diane Arbus, and Lee Friedlander. The galleries on their website are well worth spending some time going through and being inspired by.
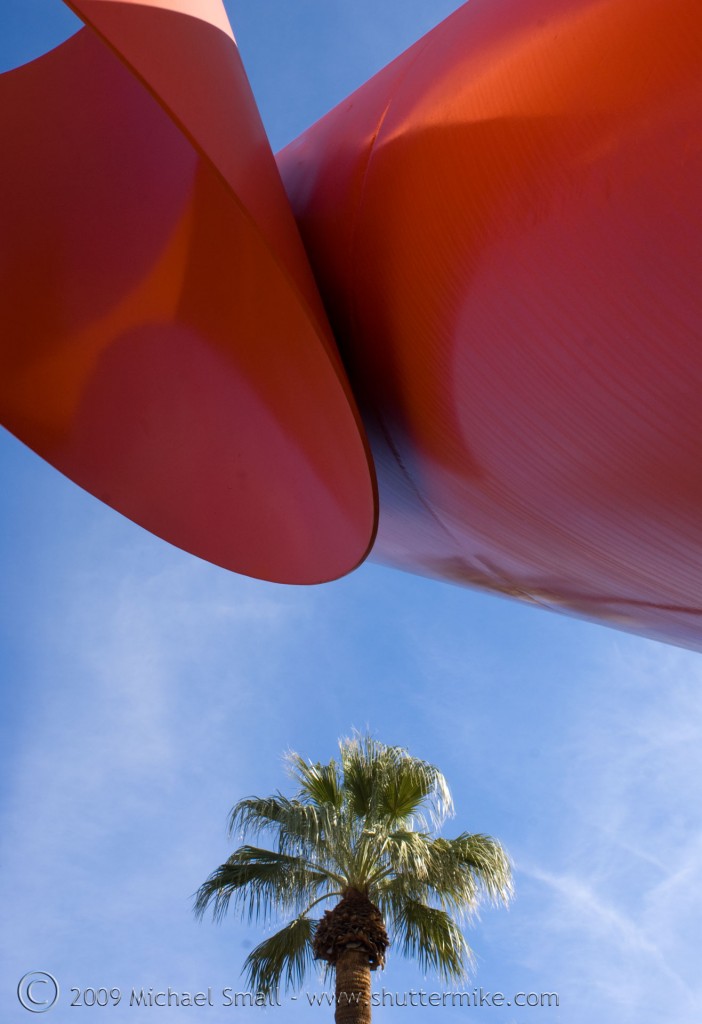 f/16 – 1/50 sec – ISO 100 – Focal Length 28 mm
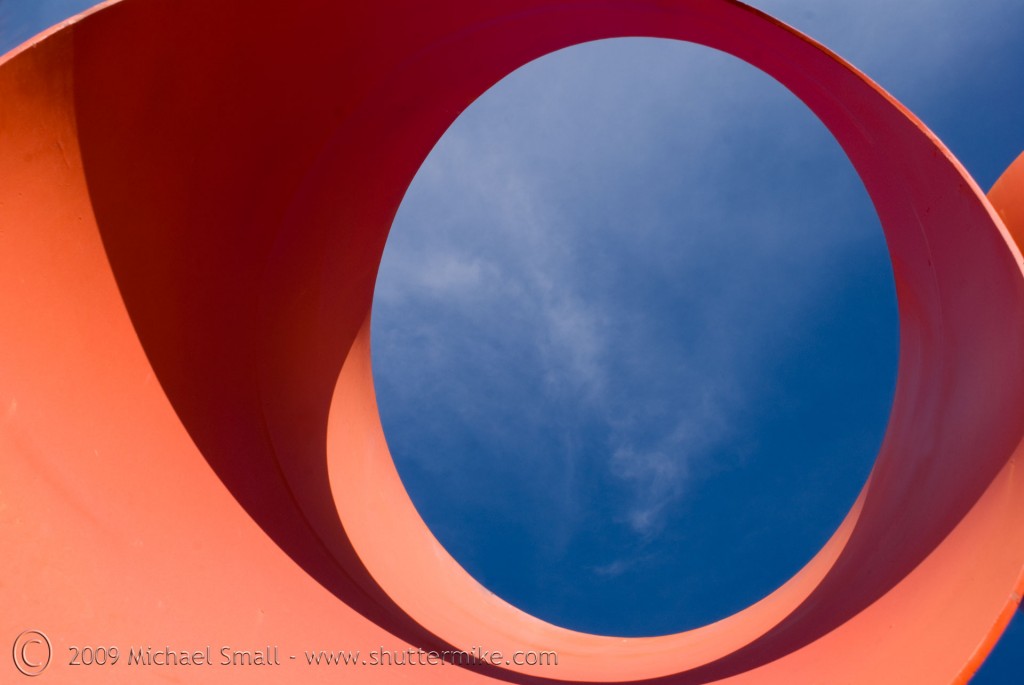 f/16 – 1/60 sec – ISO 100 – Focal Length 35 mm
Left – f/16 – 1/40 sec – ISO 100 – Focal Length 18 mm
Right – f/5.6 – 1/500 sec – ISO 100 – Focal Length 35 mm
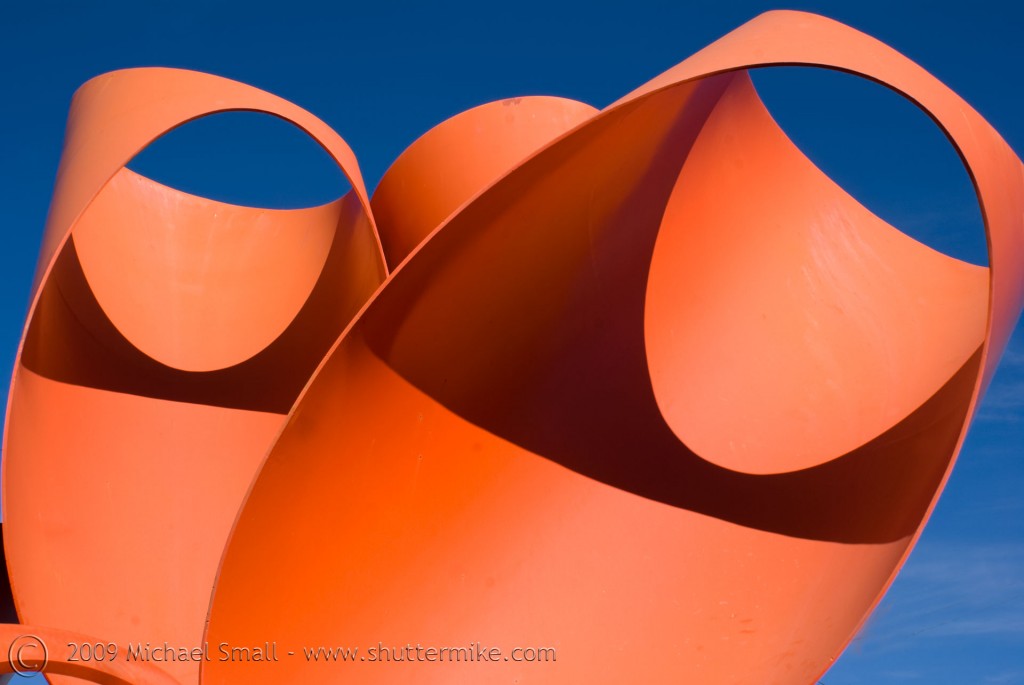 f/16 – 1/50 sec – ISO 100 – Focal Length 28 mm
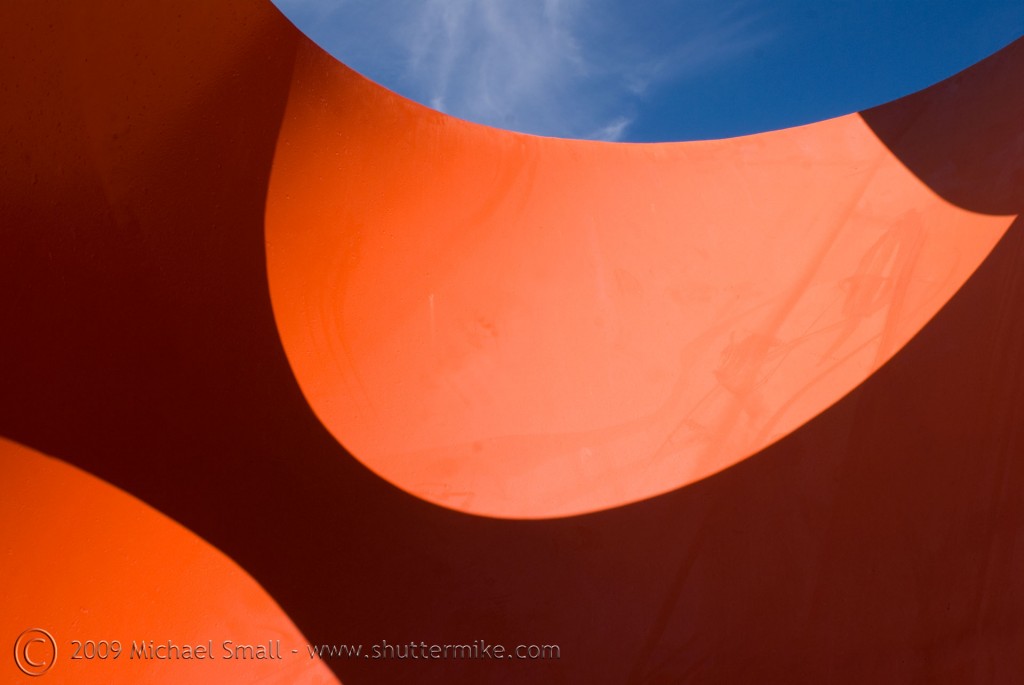 f/16 – 1/100 sec – ISO 100 – Focal Length 24 mm


 Magazine Subscriptions – Yes, I know this is the digital age and print magazines are considered passe by some. But I am not the only who still loves thumbing through and reading an actual physical magazine. And there are some great photography magazines out there. For under $20 you can get some of the
