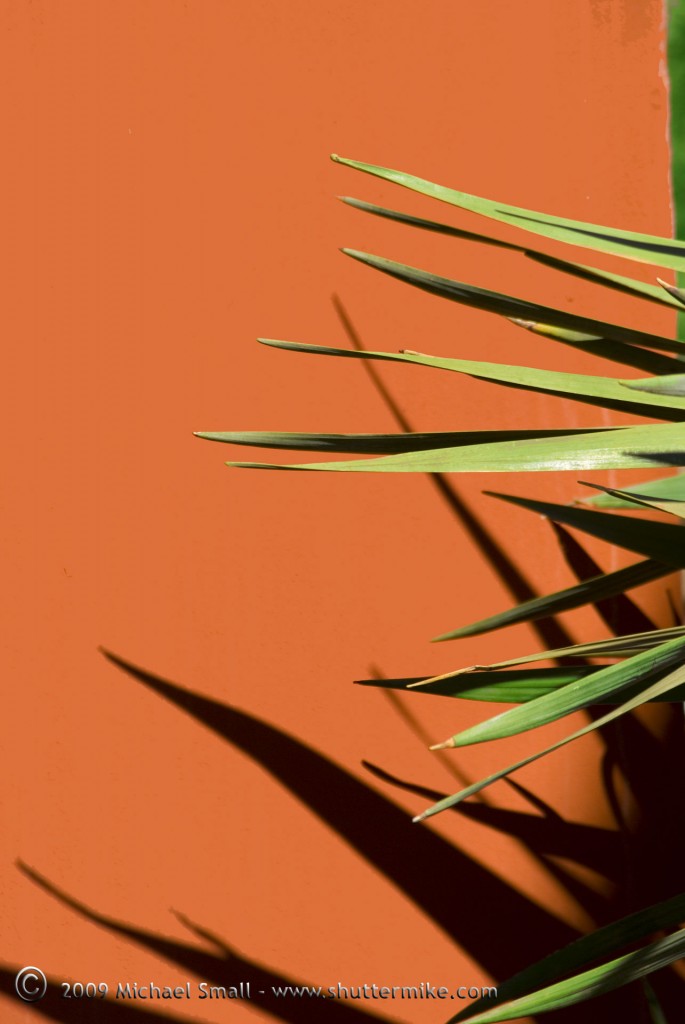
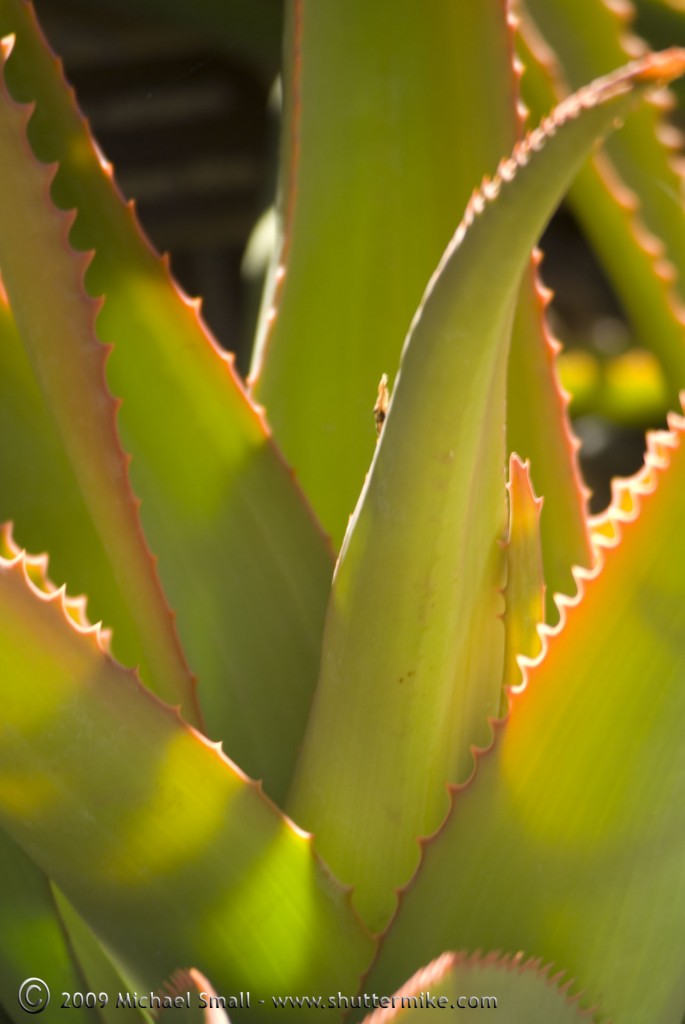
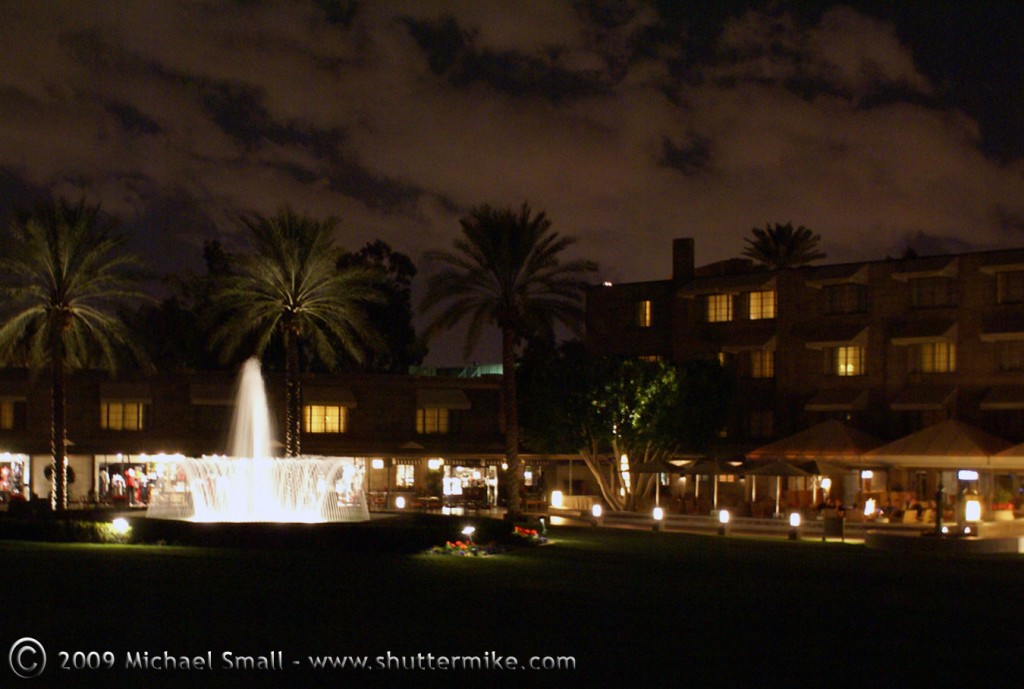
Can cell phone photography be considered real photography? In a word, sometimes. To start we need to define the difference between a “photograph” and just another “snapshot.” In my opinion, a picture becomes a photograph when there is deliberate thought behind it. Similar to the point where murder becomes first degree murder. It is premeditated. Premeditating a photograph has much less to do with the camera than the photographer.
There are times when a picture taken with the most advanced DSLR is just a snap shot. If all I do is quickly point and shoot on full automatic mode I can turn any camera into a point-and-shoot. Conversely, if I take the time to compose and think about my subject, finding the best angle, light and composition, then I can create a photograph with any camera. It has less to do with all the advanced features of the camera (although these features can be a tool for the photographer to use for improving the quality of the photograph) and more to do with technique.
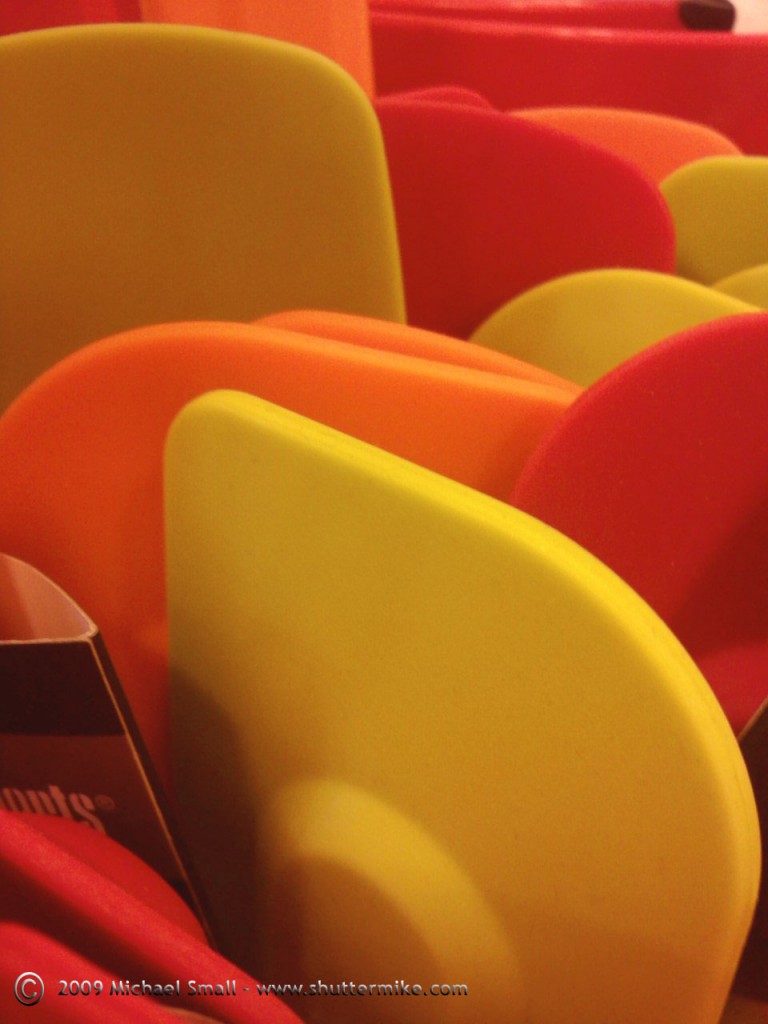
These photographs were taken with my cell phone camera. The white balance settings and ISO options up to 400 as well as 5 scene modes make it possible to compose some decent photographs with a cell phone camera. Due to resolution limitations the end quality of the image is not going to be as good as with a full size camera. But for on the fly shooting you can use your photographer’s skills through a cell phone camera lens just as much as you can through your DSLR and create photography.
 Dia de los Muertos (Day of the Dead) Catrina
Phoenix Desert Botanical Gardens
f/13 – 1/100 sec – ISO 100 – Focal Length 300 mm
Dia de los Muertos or Day of the Dead is celebrated in Mexico and by some in the US on November 2nd. Its origins go back to the native Mexican people. Today the traditions have evolved to include some Christian beliefs as well. The day is used to remember and celebrate the lives of relatives that have died. The Catrina pictured here is a modern Dia de los Muertos symbol.
White balance has to do with color temperature. If you have ever shot photographs using film indoors you are probably familiar with the yellow/orange or bluish cast that often washes over the scene. The reason for those casts of color is that all light has a temperature associated with it. The temperature of the light you are shooting in impacts the image by pushing the overall color towards red or blue. The lower the temperature, such as tungsten or standard household lighting, the more the color shifts towards red. The higher the temperature, such as fluorescent lights, the more the color shifts towards blue. In film photography you either deal with the color cast in your images or use filters on the lens to balance the color out.
In digital camera, particularly DSLRs, the camera generally has a white balance setting. You can select auto white balance or select from a number of pre-set options such as daylight, shade, cloudy, tungsten, etc. The camera will then compensate for the lighting conditions and color temperature so that the overall color hue of the image is accurate.
You can leave the white balance set to automatic, but as will all of the settings on your digital camera taking them off automatic opens up the possibilities for more creativity with your photography. Experiment with the different white balance settings and note how they each impact your subject.
These images were all taken of the same subject in direct sunlight. I adjusted the white balance setting on the camera itself to show the effect of each on the image. There is no Photoshop work on these images other than to re-size them and combine them into the one collage. The camera did all the white balance adjusting.
 Top Row L – R : Auto White Balance Setting, Daylight, Cloudy
Bottom Row L – R: Tungsten, Fluorescent, Flash (the setting, no flash used)
Notice in the tungsten photograph (bottom left) the blue cast. Since tungsten light has a lower temperature it shifts towards red. The tungsten white balance setting on the DSLR attempts to compensate for this by adding blue. But in a setting such as mine, where I am using the tungsten setting without any actual tungsten lights, the blue tone takes over the photograph.
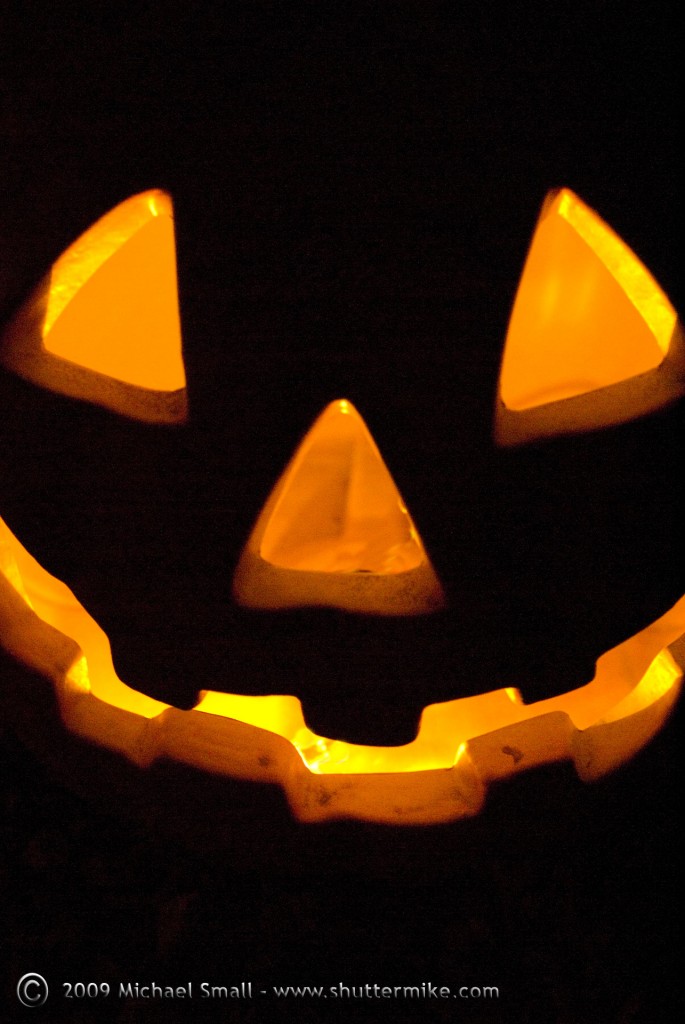
Halloween Jack-o-Lantern
f/5.6 – 1/10 sec – ISO 1600 – Focal Length 55 mm
I set the ISO up as high as it would go and opened the aperture up for this photograph for two reasons. It was a pitch black Halloween night and I did not have a tripod. In order to have any hope of avoiding camera shake and get a decent picture I needed the shutter speed to be as short as I could get it and still capture the image. A wide open aperture of 5.6 and ISO of 1600 seems to have done the trick.
When I first started taking my camera off automatic and manually adjusting the settings to take more control of my photography one of the main principles of photography that I struggled with was aperture. In fact, although the more I shoot the more I understand aperture, I have not yet reached the point where it is second nature. I often have to recite to myself “large number, small opening, small number, larger opening.” I’m sure I am not alone in this so I have put together a relatively simple explanation of aperture.
Aperture Defined (Officially)
According to www.merriam-webster.com the definition of aperture is as follows:
ap·er·ture (āp’ər-chər) – noun – a : the opening in a photographic lens that admits the light b : the diameter of the stop in an optical system that determines the diameter of the bundle of rays traversing the instrument
Aperture Compared to the Human Eye
That definition is a bit cumbersome, but one of the best comparisons I have found to help understand aperture is to the human eye. The iris of your eye regulates how much light is let in for your brain to decipher what you are seeing. In a dark setting your iris opens up to let more light in. In a bright setting your iris closes down since not as much light is needed to see your surroundings.
The aperture of a camera works in much the same way. Your camera (you) has a lens (your eye) with a diaphragm (your iris) that opens and closes based on the the lighting (either automatically by the camera or manually by the photographer) in order to regulate the amount of light that reached the film or sensor (your brain). Obviously in your camera, unlike in the human eye, there are other factors that work with the aperture to control the exposure such as shutter speed and ISO, but the basics of aperture by itself are much like the eye.
f-stop and the Lens Opening
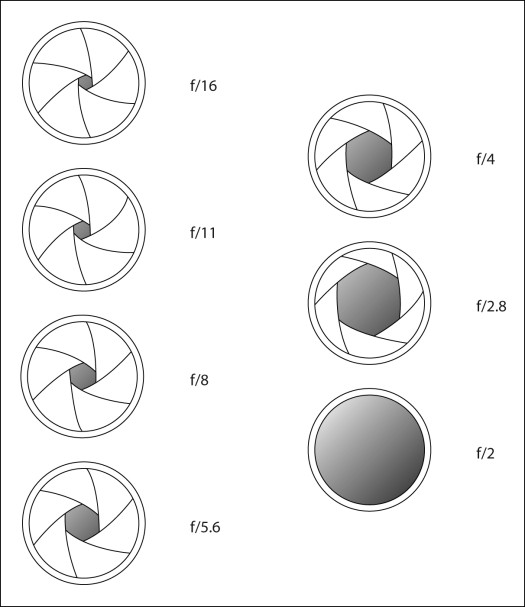
With the basic definition in mind, there is one significant and often difficult to comprehend, aspect of aperture that you are going to need to understand to master it. That is the f-stop numbers and how they relate to the size of the opening in the diaphragm. As the diagram below shows the larger the f-stop the smaller the diaphragm opening. That means you have to think opposite of what seems “normal.” To let less light in you need a bigger f-stop which results in a smaller opening. To let more light in you need a larger f-stop which results in a bigger opening.
Large f-stop = Small opening
Small f-stop = Large opening
How to Adjust Aperture
Each camera model is going to be a little different. But in general, you have about four options for setting aperture.
- Fully Automatic – the camera determines the optimal settings based on the lighting conditions and sets both the aperture and shutter speed.
- Fully Manual – Usually denoted by an M on the exposure mode dial. You select both the aperture and shutter speed yourself to obtain the exposure you are going after.
- Aperture Priority – Usually denoted by an A or Av on the exposure mode dial. You select the aperture while the camera sets the shutter speed.
- Shutter Priority – Usually denoted by an S or Sv on the exposure mode dial. You select the shutter speed while the camera sets the aperture.

Possible f-stop ranges
What is Aperture Used For?
Aperture impacts two closely related aspects of your photography, the exposure and depth of field. For the exposure you need to remember that it is dependent on more than just aperture. Shutter speed, film speed (ISO) and aperture play a role in determining a good exposure for an image and the three are closely related.
Aperture + Shutter Speed + ISO = Good Exposure
Aperture also plays a role in depth of field. The more you open up your aperture (the smaller the f-stop number) the more shallow your depth of field will be, i.e. your focal point will be in sharp focus while the foreground and background will blur. Conversely, when you close down your aperture (a larger f-stop number) the depth of field will be greater. Both the subject as well as the foreground and background will be in focus.
As with learning anything in photography, the key to mastering aperture is to experiment with it. Try using the various exposure modes on your camera (other than automatic), bracketing with the aperture, and seeing the effects of using a large aperture and a small aperture on the same subject. In time it will become second nature.
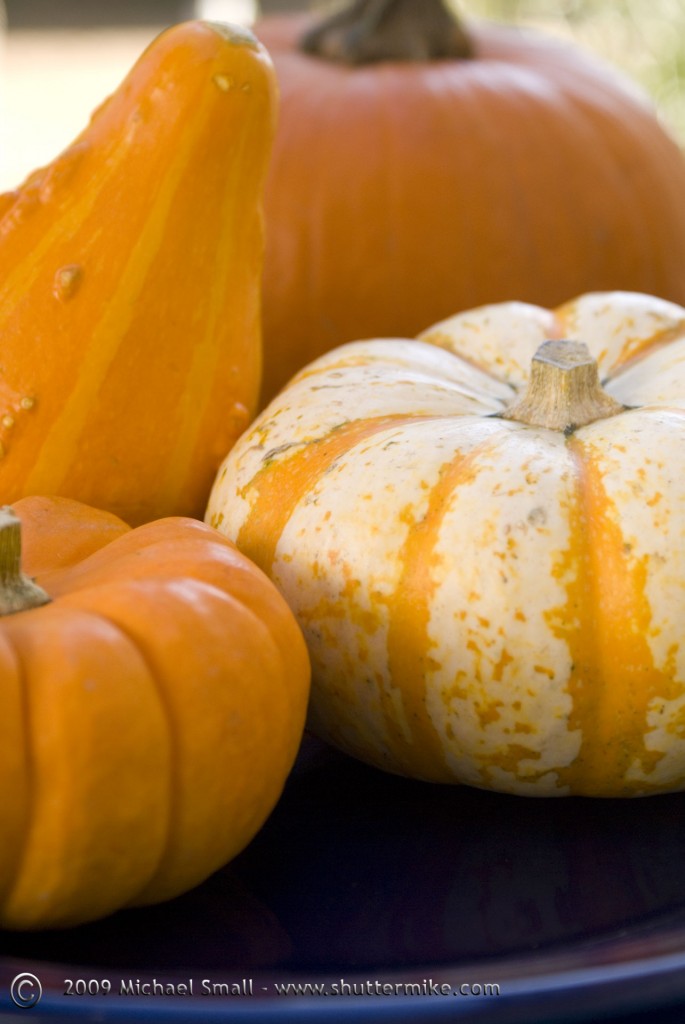
Fall Color the Day Before Halloween
f/5.6 – 1/125 sec – ISO 200 – Focal Length 60 mm
The day before Halloween these pumpkins and gourds seem appropriate. The photograph is also a good example of some basic photography concepts. Namely, depth of field, using complimentary colors and filling the frame. The depth of field is rather shallow with the focus point being the orange and white pumpkin in the middle. This leaves the large pumpkin in the rear and the front rim of the plate a bit out of focus. The orange of the gourds and the blue of the plate are complimentary (opposite each other) on the color wheel. the concept of filling the frame is pretty self explanatory. The entire subject of the image goes from one side to the other and top to bottom without leaving any non-subject related space around the edges.
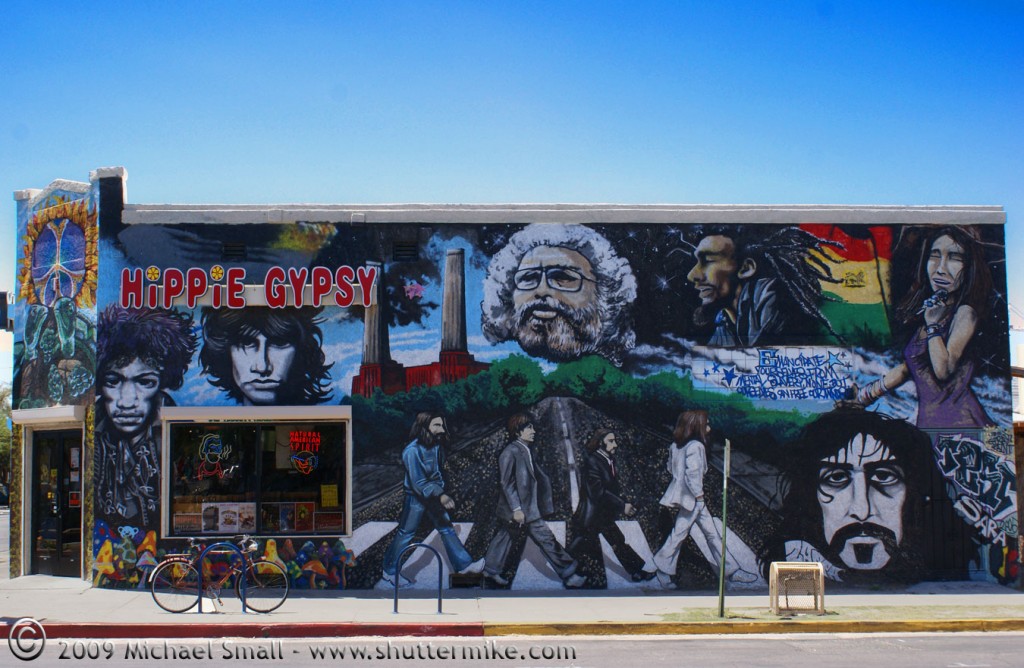
Music Wall – Tucson, AZ
f/8 – ISO 100 – Focal Length 30 mm
Hippie Gypsy is a “smoke shop” on 4th Ave. in Tucson, AZ. The building is covered in murals featuring “Hippie” counter culture icons such as Jim Morrison and the Beatles.


