 Wong’s
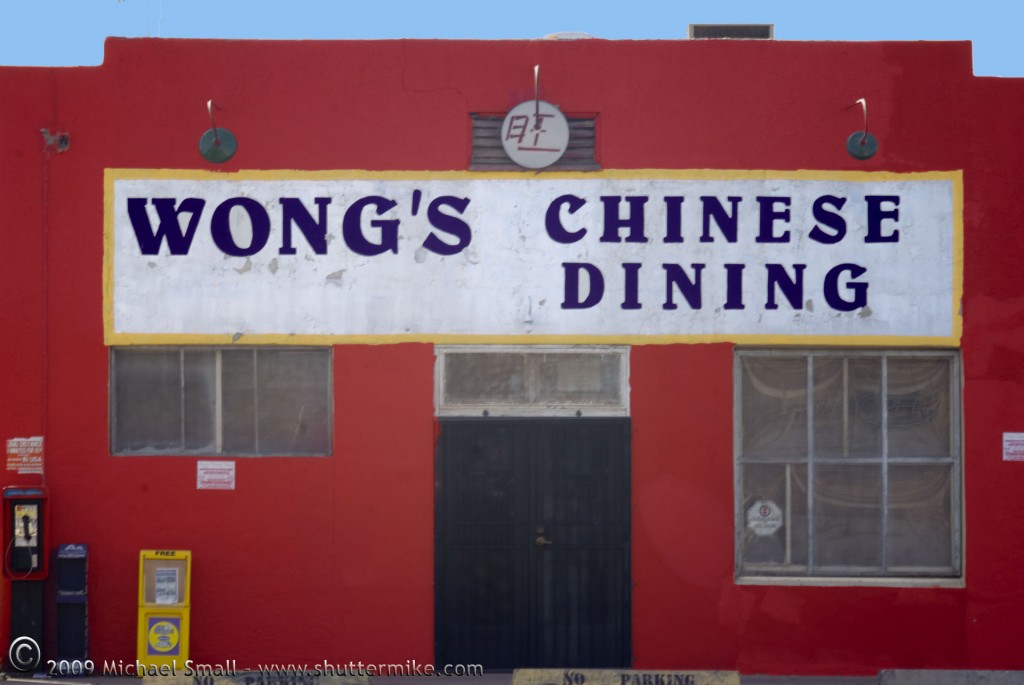
f/22 – 1/15 sec – ISO 100 – Focal Length 100 mm
This photograph required some post-processing work to get it as it is seen here. I was off in my exposure settings resulting in an over exposed image. But working with the original RAW file allowed me to make adjustments after the fact to correct that over exposure. I also did some work to make the red of the building and the blue of the sky pop a bit. The ability to do simple to rather complex corrections and/or improvements to an image is one of the great advantages of shooting digital images.
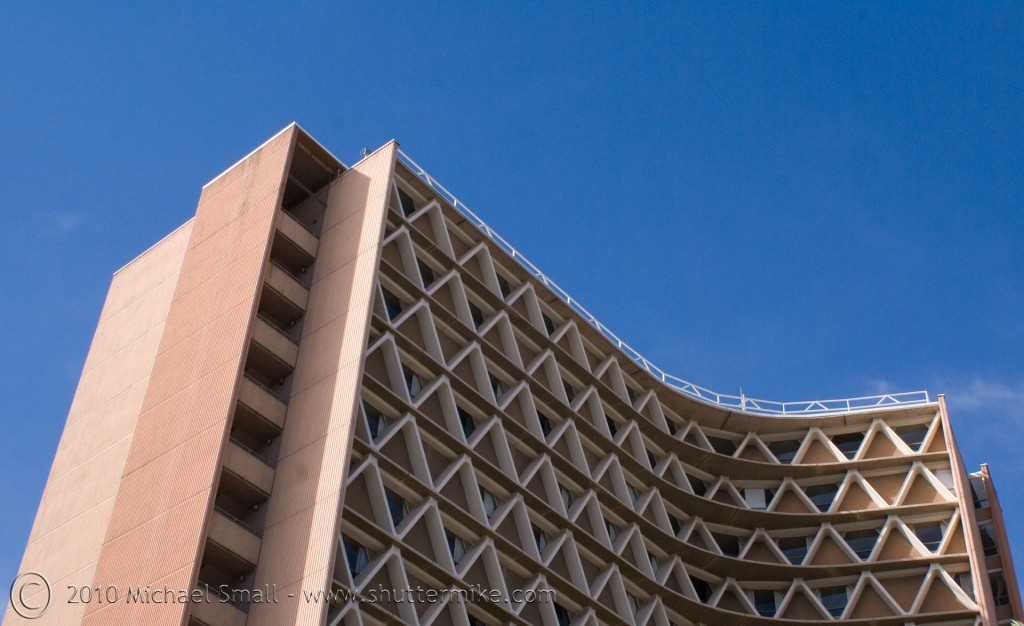
Arizona State University Dorms
f/13 – 1/320 sec – ISO 400 – Focal Length 28 mm
I am not sure of the exact construction date of this particular dorm building at Arizona State University. But the triangle windows and overall design of the building are very 1960’s to me.
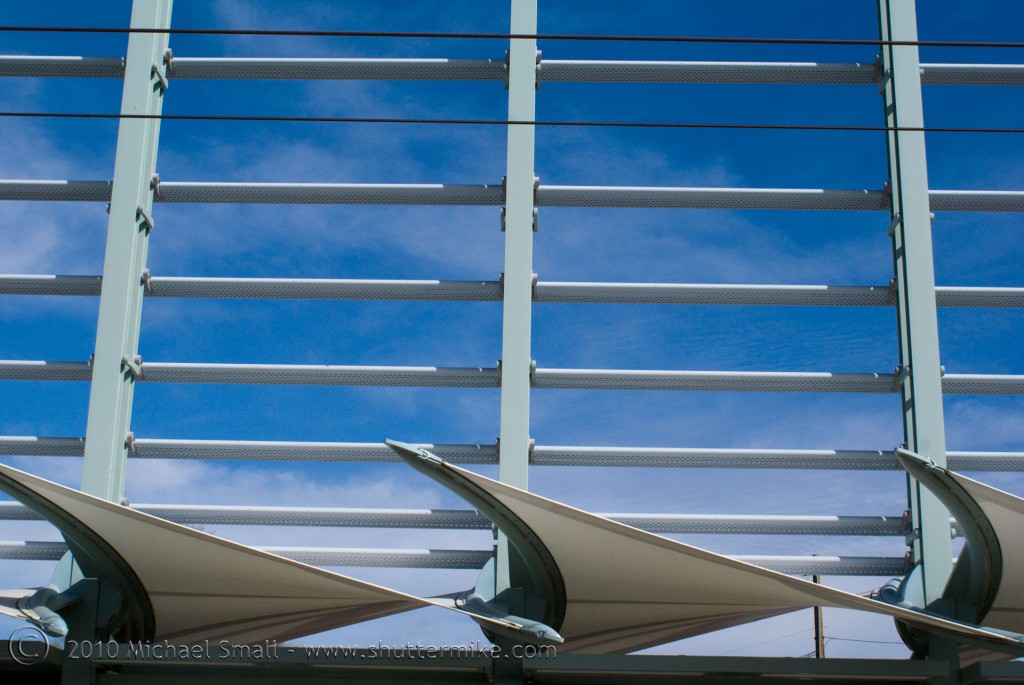 Valley Light Rail Station in Tempe, AZ
f/13 – 1/1000 sec – ISO 400 – Focal Length 35 mm
Something as utilitarian as a metro train station could b e built, well, very utilitarian. But that is rarely the case. Civic “leaders” and others involved in making such decisions more often than not spend the extra money to incorporate design, art and architecture into public works projects. The Valley Light Rail system in the Phoenix metro area has taken a lot of flack for being too expensive, too slow, not enough and most any other complaint you can conjure up. But regardless of what you think of the system itself, the effort taken to incorporate art and design into the while project has really paid off. These repeating lines at the University and Rural station in Tempe are just one example. I think a day of raiding the rails with a photographic stop at each station is due.
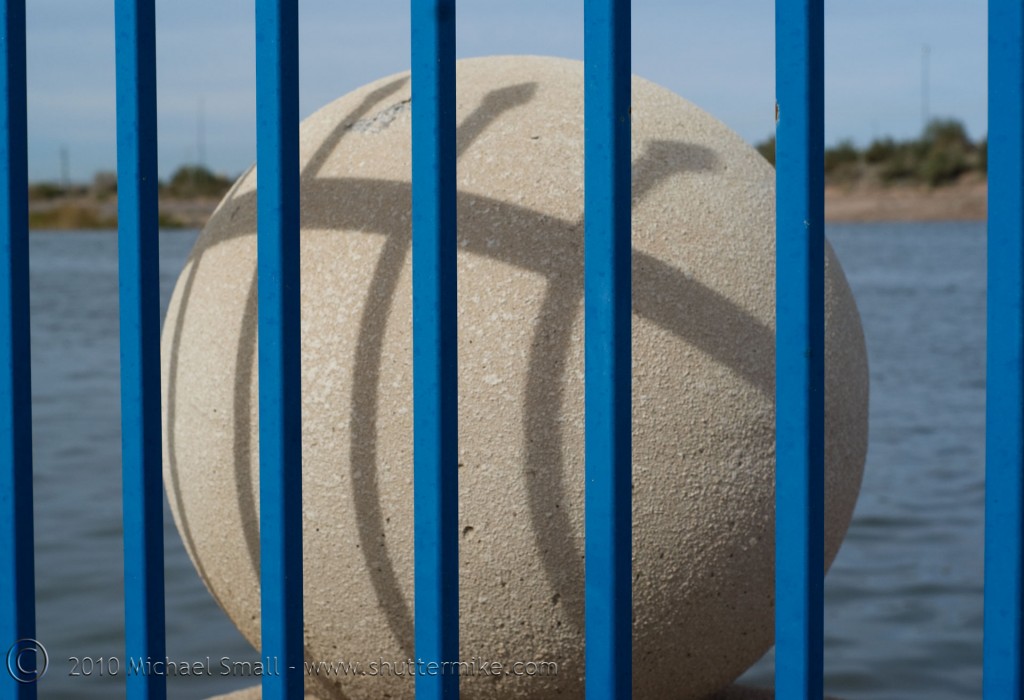
 In photography, composition refers to how the elements in the frame are constructed and arranged to result in the desired final image. There are many “rules” of composition in photography that are designed to produce an image that is appealing to the human eye. Of course there is no one thing that is universally beautiful. So these rules are not absolute so much as they are guidelines to use and expand upon to produce images that are appealing. As a photographer you have to interpret and often break these rules to get the images you are after. They do not have to be, nor are they meant to be, set in stone and followed blindly.
A good (and relatively easy) rule of photography composition to start with is framing the subject. Simply put, framing a subject in an image is a photographic technique similar to physically framing your image in a picture frame. Only in the case of photography you are using elements in the image to frame the part of the image that you want to draw the viewers attention to.
When you are composing your shot look for natural elements in the scene that could act as a frame for the main subject you want to draw the viewer to. It does not need to be a solid, four-sided physical frame however. It can be an implied frame, a hint of a frame on only 2 or 3 sides or anything you feel is appropriate for the image you want to make. Remember the rules are made to be broken.


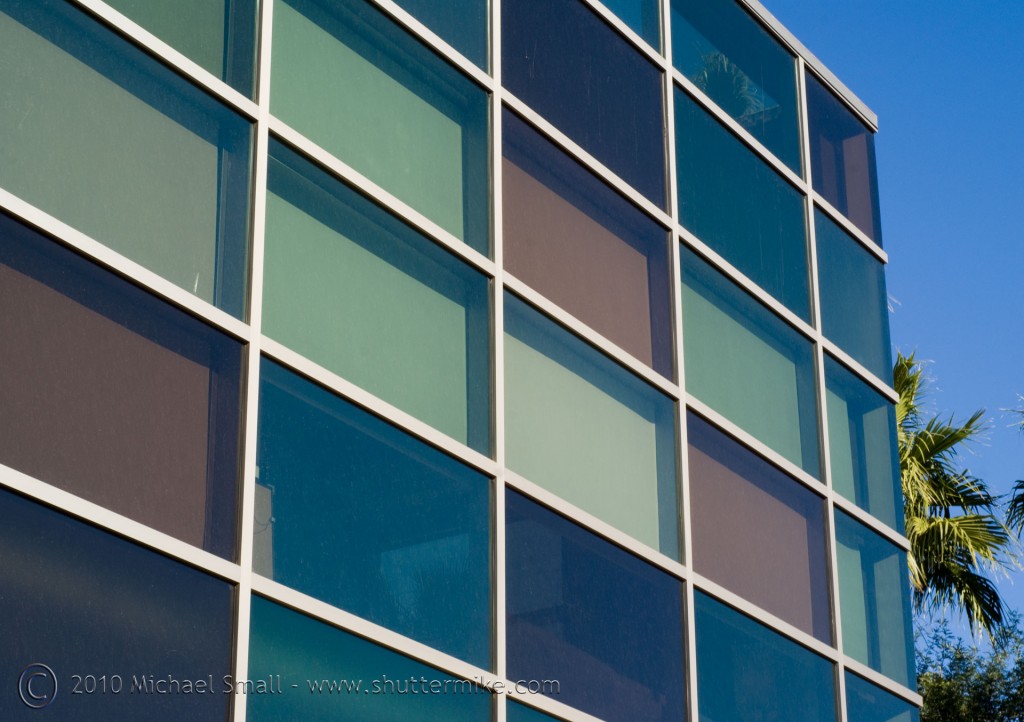
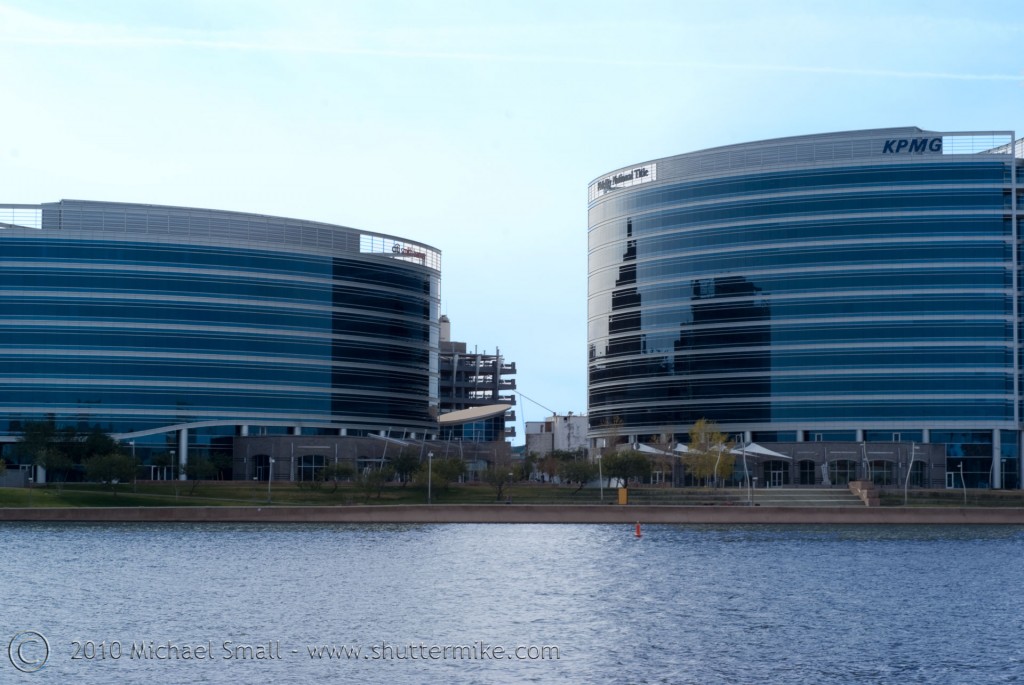 Shades of Blue
f/20.0 – 1/50 sec – ISO 100 – Focal Length 50 mm
These are the Hayden Ferry office buildings on the south shore of Tempe Town Lake in Tempe, AZ. The “lake” is the result of damming the dry Rio Salado river bed on two ends and then filling it in with water. Development of hotels, condos, office buildings and public spaces have gone up mostly on the south shore of the lake. The “beach” park at the lake is a destination for festivals, concerts and general gatherings of all sorts.
 Railroad Bridge in Sepia
f/5.6 – 1/500 sec – ISO 100 – Focal Length 50 mm
 Photoshop CS4 is an amazing tool for photographers. It offers some very complex and powerful tools for fixing, improving and artistically altering your images. But it also offers some very basic tools that do not require too much advanced knowledge of Photoshop and most anyone can quickly learn to use. One of those is adding a sepia tone to an image. Sepia simply means a brown color tone with a hint of red.
Most actions in CS4 have more than one way to be accomplished. But one of the easiest ways to get this effect is to use the adjustments tool. Here are the 3 easy steps to take a color image like the one on the right and give it a sepia tone like the one above.
- From the menu bar at the top go to image>adjustments then select black & white.
- Your image has now turned black & white and the Black and white dialogue box has opened. In this box, just below the color sliders is a check box next to the word tint. Check this box.
- The default should be a sepia tone. So you can stop here if you like the coloring. But if it defaults to another tone or you want to further adjust the sepia color click in the square of color to the right of the word tint and change your color to anything you like.
 Wong’s
f/22 – 1/15 sec – ISO 100 – Focal Length 100 mm


