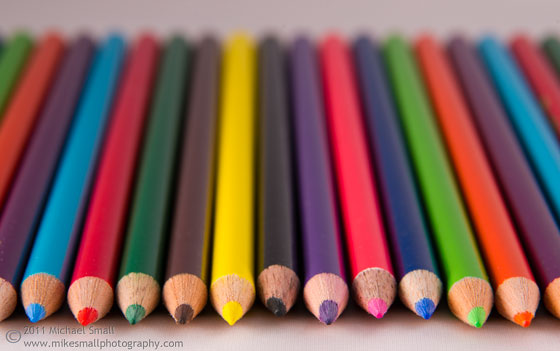
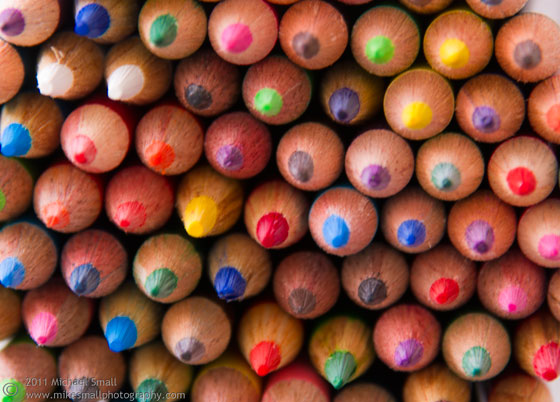
This photo collection is quite a stretch from my usual architecture and nature shots. This was actually an assignment for a Commercial Photography class I am taking. It was shot at John Covington Studios in Phoenix. This studio is designed for large scale product photography such as motorcycles and cars. There is a large scale custom-made soft box unlike any you have every seen and all the lighting you would ever need. The intent of the assignment was more to capture the bike and the model than to figure out lighting. So all the lighting was set up prior to our arrival. But we still got to work with and see how the soft box, hot lights and strobes interact to light these subjects perfectly.
The motorcycle is a Steed. What naturally goes with a motorcycle like this? A pin-up girl of course. Check back tomorrow for part two of this collection that features a model with the bike.
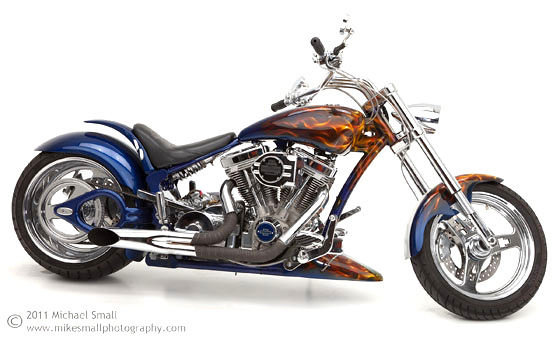
f/14.0 – 1/160 sec – ISO 50 – Focal Length 60 mm
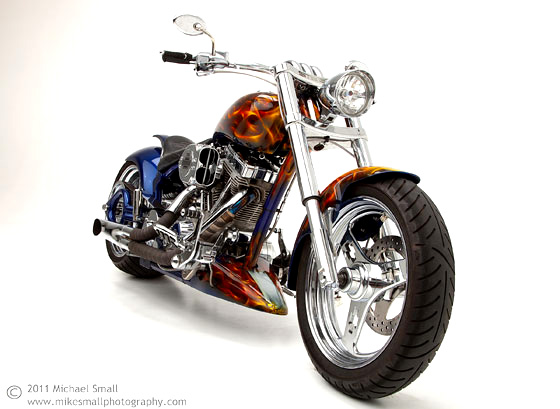
f/14.0 – 1/160 sec – ISO 50 – Focal Length 35 mm
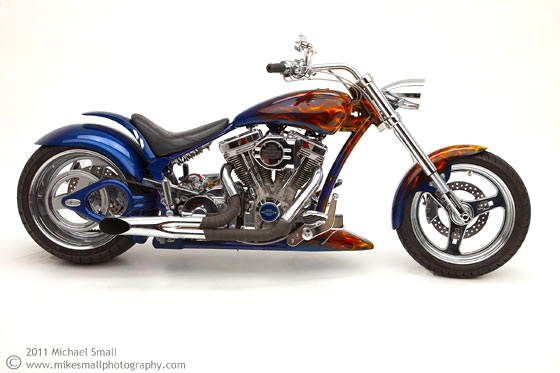
f/14.0 – 1/160 sec – ISO 50 – Focal Length 50 mm
I have never been much of a portrait photographer. In fact, I am a bit intimidated by it and don’t really enjoy doing portraits. But I also think it is a good idea to push beyond your comfort zone in order to broaden your overall photography skills. Even if you never intend to make a living with a particular type of photography and even if it scares you. So I have tried my hand at portraits now and then. But self-portraits are a whole other ball game. I am behind the camera because that is where I am most comfortable. I will go so far as to say that I hate being in front of the camera. However, in the spirit of becoming a better photographer it is a good idea to put yourself in the shoes of your subjects. Knowing how hard it can be for those of us that are not naturals in front of a camera by first hand experience can only help you work with subjects better and make them more comfortable and natural when being photographed. For that reason, and because it was an assignment in a commercial photography class I am taking, I put myself in front of the camera and took a shot at self-portraits.
Let me tell you, this was not easy. Being both photographer and model is a difficult task. To begin with you have to compose and expose for a subject that is not there. Then you sit yourself and take a guess at where your head should be so that nothing is cropped off and click the shutter. Review the image and start again. I did figure that tethering the camera to the laptop and using the remote preview feature was very helpful. But this is still not easy. So I did not sell myself on becoming a portrait photographer much less a self-portrait enthusiast. But in the end I was satisfied with my results.

Self
f/5.6 – 1/4 sec – ISO 200 – Focal Length 160 mm
The cropping in this image was intentional (not a result of not being sure where to place my head). I was attempting something different with a very close up and tightly cropped image rather than showing my whole face. Also a bit more incognito this way.
Whether you are a professional or amateur photographer one thing you probably face often is where to shoot. Sometimes I get the urge to go out and shoot but I draw a blank on good photography spots. So I have a photography spot scouting process I follow. It is not actually a formal process, but more of a way to keep track of places I may want to shoot someday.
You will need a few tools for this, but nothing too fancy is required.
1) A notepad. If you want to get high tech a tablet device such as an iPad works great.
2) A point and shoot camera. Again, nothing fancy required. Just a basic point and shoot or even your cell phone camera will do.
The “process”:
You can either do this deliberately or just keep track as you go about your daily life. Or, better yet, do both.
This is really simple. Take an hour or two on a weekend and just head out with the above tools in hand. Where you head will depend on what you like to shoot. Architecture? Head to your city’s downtown or try something different like and industrial area of town. Portraits? Just about anywhere will do. Landscapes? Pick a direction and take a drive.
Then just keep an eye out for anything that strikes your interest and take notes. For each location or potential subject that you think you might want to come back to write down the following:
- Location. Make sure you are specific enough that you will be able to find it again later.
- Angles and potential compositions. Where were you standing when it looked best? How might you frame it? What surrounding elements will you want to include in the image?
- Lighting. What direction does the subject face? Will sunrise lighting or sunset lighting be optimal for photographing it? What are the shadows like?
- Challenges. What potential problems might you encounter when you come back to photograph? Are there crowds? Will the leaves have lost all their leaves? Is there construction now that may be gone later?
- All the rest. If you think it will matter to your photograph make a note of it.
- Finally, take a few quick shots with the point and shoot just to give yourself something visual to come back to.
Now you have a documentation of someplace you can come back to either when the mood to photograph strikes or when you have a client looking for a unique location. And as you build your list you will have a catalog of shoot locations to go to whenever the need arises.
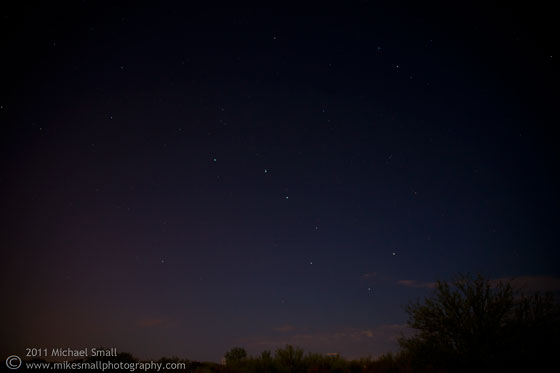
My first attempt at photographing star trails was not a total loss. I did not get the images I was hoping for but I did get some images that were acceptable and a good list of lessons learned for attempt number 2 (and 3 and 4 and 5…).
First the basics, what is star trail photography? A star trail photograph is one in which you capture the motion of the stars as the earth rotatesby using long exposure shots. The trail of light you see in the image is the star at various points in the night sky as time passes and the earth moves. In my image above I got the start of the concept. But most star trail photos you see will have significantly more movement, i.e. longer trails, of the stars. So for next time I have a few pointers.
1) The darker the sky the better. That means you are going to need to head away from metropolitan areas and the light pollution they emit. I also shot this three nights before the full moon which resulted in too much moon light to get optimal star trail images. So drive out into the desert or country away from the city lights and consult a moon calendar before you go to make sure you have it as dark as possible.
2) No exceptions, you are going to need a tripod for this. Hand holding will never work unless you have the steadiness of a rock for very long exposures. But why risk it, take your tripod.
3) Focusing can be a bit tricky with photography in environments that are this dark. If you can focus manually that is good. Alternatively you can focus on something that is lit enough to see in the distance with auto focus then switch the camera to manual focus and aim the camera in the direction you plan to shoot. Don’t do your star trail photography in the direction of the light source. This will lock int he camera set auto focus and maintain it as long as you don’t change the focal length.
4) Camera settings: You will want to experiment here and find what works best for the setting you are in, but in general these are the settings that I found worked for me.
- The lower the ISO the better to prevent noise (100 is best)
- An f/stop in the range of 2.8 – 4.6 worked well for me
- Set white balance to auto
5) Composition: Composition was a bit of an after thought my first time out photographing star trails. But it shouldn’t be. This is a matter of personal taste, but I think having something in addition to the night sky in your composition really enhances it. That could be a building, trees (be careful of windy nights where a tree can blur in a long exposure) or a mountain or hill the distance. Make sure you pick something that is going to hold relatively still during your long exposures.
6) For the actual photographs you have two options. Really long exposures using bulb mode or multiple long exposures. I tried both and found that the bulb mode exposures did not work well for me. I was getting too much noise and light interference. If I had had a darker night that might not have been an issue. But in this setting I found that the multiple long exposure method worked better. To use this method:
- Set your shutter speed to 30 seconds.
- Set the drive mode (as it is called on my Sony) to continuous. Might be sports or action mode on some cameras.
- Connect a remote shutter release cable and after you click it once lock it so that it stays held down. This will allow the camera to continually take 30 second shots one right after the other.
- The number of shots you will need depends on how long you want your star trails to be. I would recommend at least 5 minutes, which is 10 shots. But the longer the better.
- DO NOT MOVE THE TRIPOD OR CAMERA. This will ruin things for the next step.
7) Processing the images. Once you have 10+ images you are going to need to combine them into one to make the final image. There is a free star trail software program you can download that does a really good job of stacking your images and giving you a JPEG or TIFF file.
8) A few extras to bring along that can help.
- A flashlight
- A chair, you are going to want to be comfortable while you wait for these long shots.
- Extra charged batteries. Long exposures like these can really drain your batteries. Be prepared.
- A guide to the stars. You might want to know what you are photographing.
- A jacket. It can get cold out in the middle of nowhere at night.
- A friend. It can also get lonely and scary out in the middle of no where at night.

So now I think I am ready to head out to the desert again and try my hand at star trail photography once more. The next new moon is towards the end of the month according to my moon calendar and I am ready with what I learned this first time around. Check back for attempt number two.
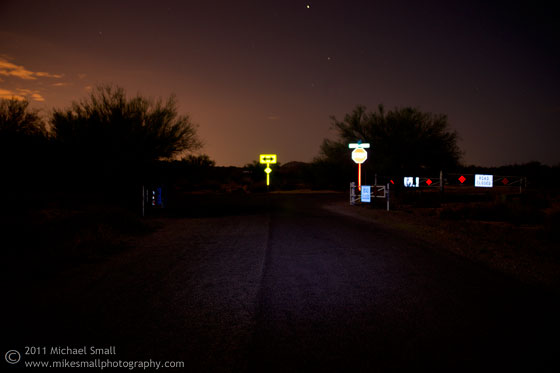
End of the Road
f/4.0 – 30 sec – ISO 200 – Focal Length 40 mm
This photograph required a little more work than most. It was taken in a very dark, secluded area of the Arizona desert near Fountain Hills. The challenge was to get enough light in the pitch black night to have something show up in the image. I used the longest exposure my Sony Alpha 850 offers short of bulb, 30 seconds, in order to allow as much light as I could onto the sensor. At the same time I opened the aperture up to 4.0 while keeping the ISO low to avoid the noise that higher ISO settings would bring to the image. So the light in the sky is natural and shows as a result of the long exposure. But the light on the road and signs is from a small LED flashlight. I shined the flashlight towards the end of the road for about the first 10 seconds of the 30 second exposure then shut it off. This allowed enough light to illuminate the scene without making it too bright. Finally, if you look closely, you will see there are some focus issues with the stop sign in particular. Auto focus does not generally work in such a dark setting. The camera cannot “see” anything to get a focus reading so it never locks in on anything. The LED flashlight helps here in that you can illuminate an object in the distance and let the camera lock onto it to focus. Then switch to manual focus and your focus will be set. In this case I had focused for another scene and did not reset the focus for this particular setting. But had I done that the focus issues would have been resolved.


