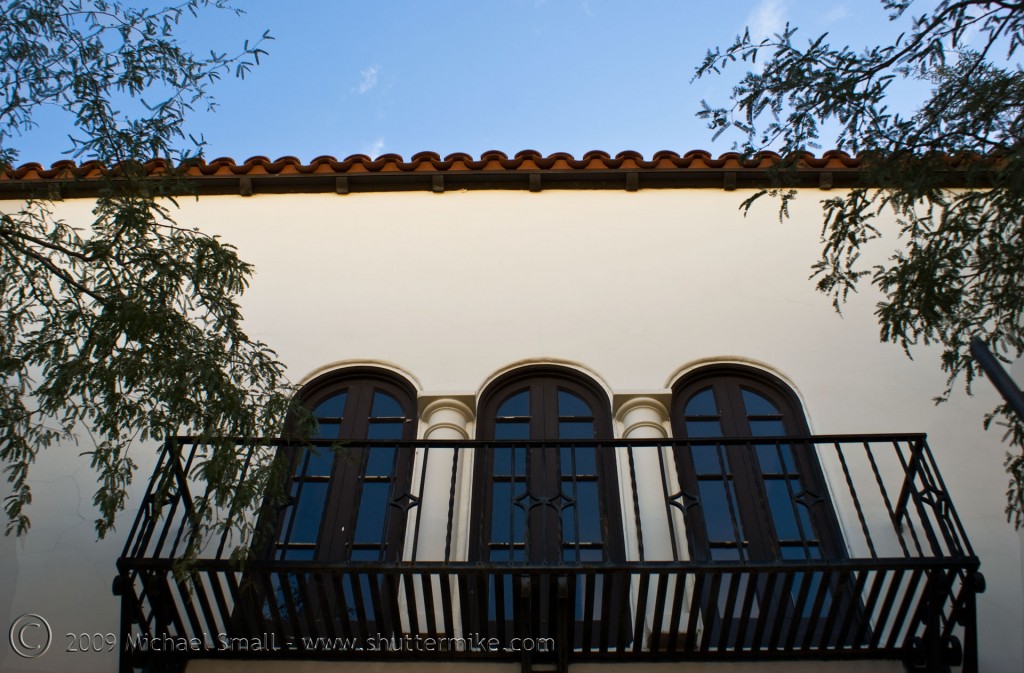
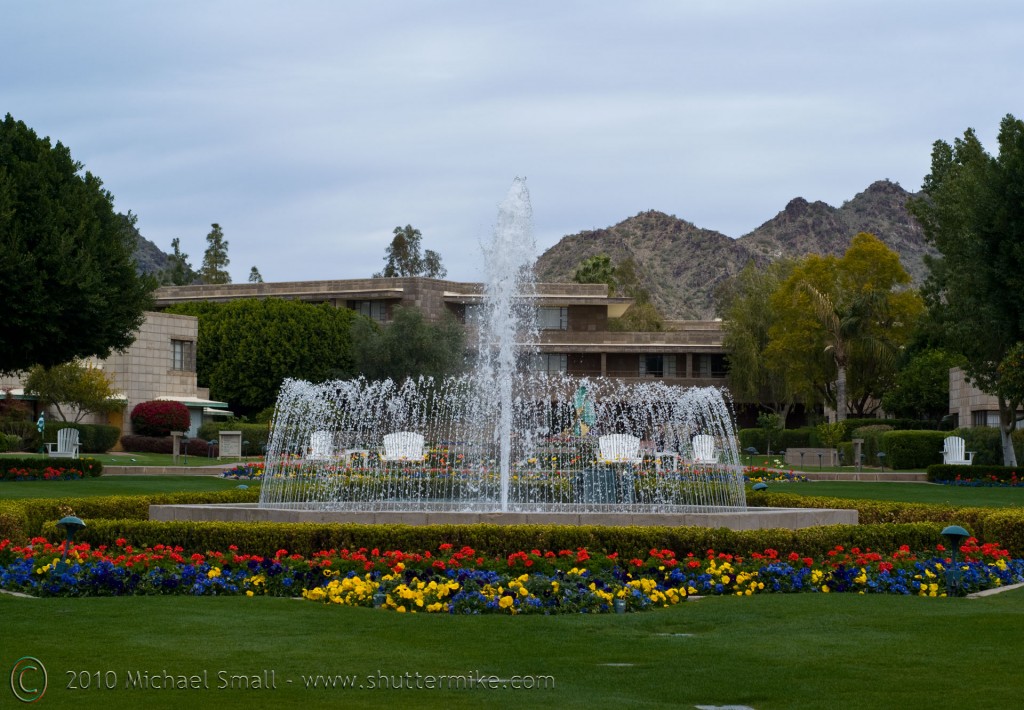
 Heard Museum – Phoenix, AZ
f/5.6 – 1/125 sec – ISO 100 – Focal Length 22 mm
The Heard Museum in Phoenix celebrates Native American culture, heritage and art. The museum sits in central Phoenix and houses both permanent and rotating exhibits of ancient and modern Native American art. The original buildings of the museum complex have undergone numerous renovations and expansions since the early 20th century and now include both indoor and outdoor spaces that act as an ode to Native American culture as well as a gathering place in central Phoenix.
I have taken 1000s of photographs over the last few years but I have had very few of them printed. Most are displayed digitally on this blog or Flickr or Facebook or stored on my external hard drives. For the most part I just never think to have my photographs printed. I suppose if I had done a lot of film photography before getting into digital photography I would place more significance on the printed image.
 However, I was recently awed by a print of one of my images enough that I may have to rethink my whole view of having my photographs printed. It started with being followed by and and following @photocanvas on Twitter, aka ZaZa Gallery. They were offering free 16 x 20 canvas prints in exchange for a review of the finished product. Free is a price I can get into and was happy to oblige.
The hardest part of the process was deciding which image to have printed. Not having had any canvas prints done before I was not sure how it would turn out or what image would look good in this format. I decided on one of my favorite images (on the right) of the Barrio Historico in Tucson, AZ. I love the pops of color on the three doors and the clear blue sky above the adobe building. So I sent the image off with no idea what to expect in return.

 The result was amazing. I got a 16 x 20 canvas print with a mirror wrap (that means the image is “mirrored” or repeated as the canvas wraps around the edges of the frame) and was blown away. The colors were true to, if not better than, my original. Every detail of the image is crystal clear and vibrant. The construction is very solid using archival canvas. All I can say is “wow.” This particular print runs $68. I have never price shopped canvas prints so I have no idea of this is high, low or right in the middle. But for the quality of the final product i got it is well worth it.

When it comes to the rules of composition in photography there are two things you need to know: 1) all the basic rules of composing a good photograph and how to execute them and 2) when to disregard those rules.
To start, composition in photography refers to how the elements in the frame are constructed and arranged to result in the desired final image. There are a lot of these rules and a lot of expert opinions on how and when they should be executed. Knowing them will help you be a better photographer and help you know when they do not apply to the image you are trying to construct. I have already talked about framing the subject, leading lines and vertical vs. horizontal composition so up next is filling the frame.
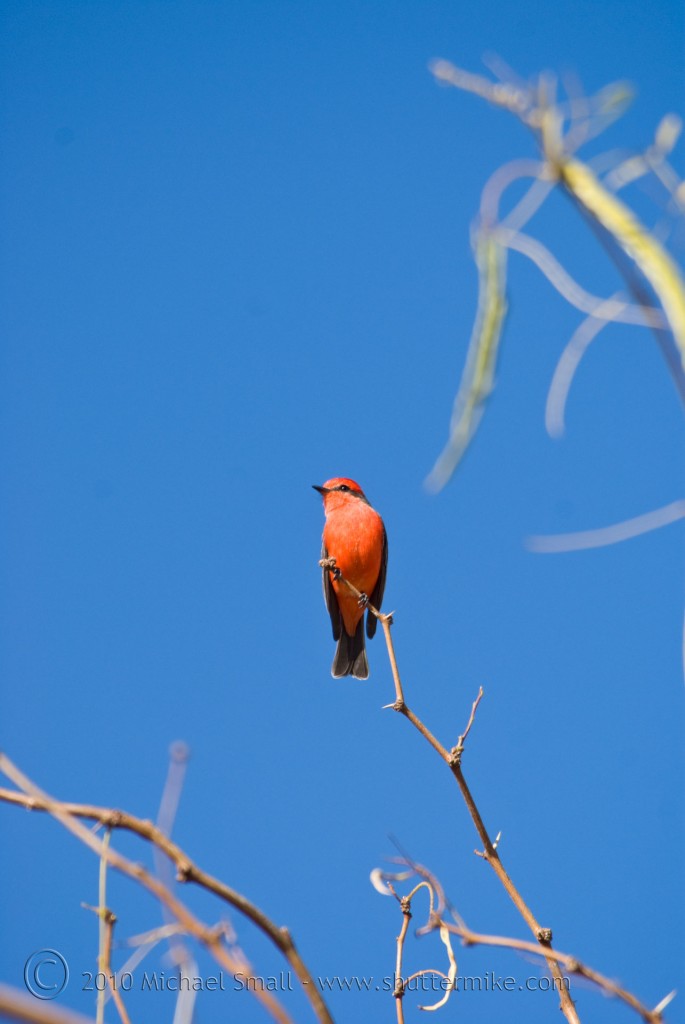
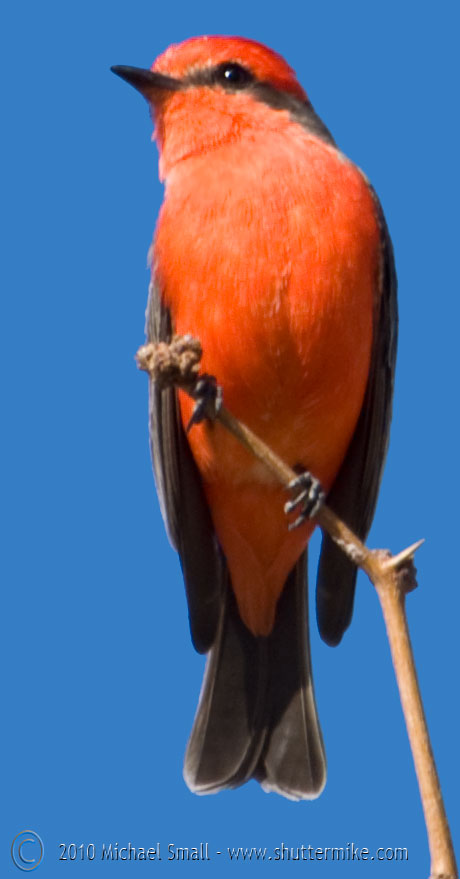
The image on the left has distraction that takes away from the main subject, the bird. The photo on the right works better because it fills the frame and nothing else in the image takes away from the bird.
Filling the frame is about making your intended subject the center of attention by doing just that, filling the frame, from top to bottom and left to right with nothing but your subject. By cropping out the background “noise” and distraction you bring the subject to the forefront and leave no doubt as to what your photograph is about. But as with all of these photography composition rules this is not an absolute rule. You can’t zoom in on the intended subject and cut out everything in the background and expect a good rule obeying photograph. Sometimes the background is part of the story or it enhances rather than distracts from the main subject or maybe that “distraction” gives your particular image the creative touch you were looking for. This is where part two comes into play, know the rule and then know when it does not apply.
 In this photo the branches of the tree go from top to bottom and left to right completely filling the space within the borders of the image frame. This technique makes it clear that the tree is the central subject of the photograph.
http://shuttermike.com/arizona/photography-101-composition-in-photography-horizontal-vs-vertical/
Photographing your pet is something most every pet owner does. But getting a good photograph of your pet eludes most of us. Pets tend to not be as cooperative as human subjects (although sometimes the opposite is true). This makes the pet snapshot much more common than the pet portrait. However, there are a few things you can do to capture a good portrait of your pet.
 1) Avoid using the flash – The flash can cause some eerie effects in the eyes of your pets, from red eye to green glowing demon eyes. In addition a particularly skittish pet can be easily frightened by a flash going off. A tripod and proper exposure settings can compensate for the lack of flash when an abundance of natural light is not available.
2) Keep it natural – Natural light is ideal for most portraits when you can get it. This is especially true for your pets given the negative effects of using a flash. Natural light also allows you to capture your pet in their natural setting. A cat in a sun filled window or a dog in a grassy back yard provides both natural light and puts them in their element.
 3) Fill the frame – Using this composition technique can make for a great pet portrait. Get in close, preferably with your zoom lens so as not to startle them, and fill the entire frame of the image with your pet. This keeps out the distractions of the background and keeps the focus on the subject of the photo, your pet.
4) Don’t try to pose – Trying to pose your pet and getting them to keep the pose long enough to take the photo is an exercise in futility. Both you and your pet are going to end up frustrated. Keep it natural and let your pet chose their own pose. It will make for a much better portrait.
 5) Get down to their level – The angle from which you shoot can make all the difference. Some of the best pet portraits take into consideration that anything but being at the cat or dog’s level (or lower) is going to be little more than a great shot of the top of their head.
6) Try the unconventional – Not every portrait has to be a head shot. Paws, tails and ears can make for great detail shots. Don’t limit yourself to just the conventional.
7) Have patience – You have heard the expression “it is like herding cats.” Cats in particular can be a challenge and their natural disinterest in cooperation can make photographing them difficult. The same can be true of all but the most well trained and obedient dogs. Patience will go a long way and be prepared for a lot of takes for the one good shot.
 Heard Museum – Phoenix, AZ
f/5.6 – 1/125 sec – ISO 100 – Focal Length 22 mm
 However, I was recently awed by a print of one of my images enough that I may have to rethink my whole view of having my photographs printed. It started with being followed by and and following @photocanvas on Twitter, aka ZaZa Gallery. They were offering free 16 x 20
 The result was amazing. I got a 16 x 20 canvas print with a mirror wrap (that means the image is “mirrored” or repeated as the canvas wraps around the edges of the frame) and was blown away. The colors were true to, if not better than, my original. Every detail of the image is crystal clear and vibrant. The construction is very solid using archival canvas. All I can say is “wow.” This particular print runs $68. I have never price shopped




 5) Get down to their level – The angle from which you shoot can make all the difference. Some of the best pet portraits take into consideration that anything but being at the cat or dog’s level (or lower) is going to be little more than a great shot of the top of their head.
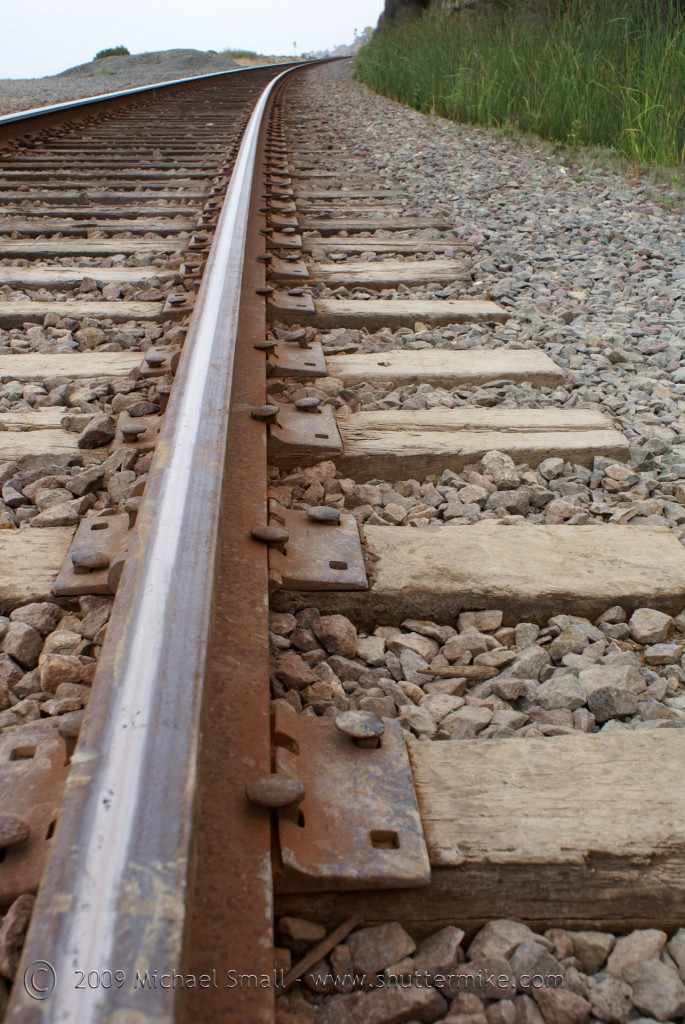 Proverbial Leading Lines
The fading railroad tracks are the most photographed example of leading lines.
f/9.0 – 1/100 sec – ISO 100 – Focal Length 26 mm


