If you have ever shot in RAW format and done any post-processing work using Adobe PhotoShop you have probably noticed and experimented with the sliders for clarity, vibrance and saturation at the bottom of the “basic” tab on the Camera Raw editing window (CS4 version). All three of these adjustments are used to alter the saturation of your image. Saturation refers to the intensity and purity of the color. A highly saturated image has very vivid color while an image that has been desaturated is a greyscale image with monochromatic grey tones. Each of these settings has a little different effect on the colors of the image. The sample photos here are at either extreme end of the spectrum, -100 and +100 to help give you an idea of what each saturation setting does. In most cases, except where you are trying to go for an “artistic” look, you would not take it to the extreme ends. Generally you may blend a few of them at varying points along their scales to get the end result you are trying to accomplish.
 The original photograph with all saturation settings at the default level of zero.
Clarity – Clarity adds depth to an image and gives it a stronger focus and more impact. Notice the sharper detail in the +100 clarity photo while the focus becomes softer and the colors almost muted in the -100 clarity image.
Click on the images to see the effect better in the full size version.
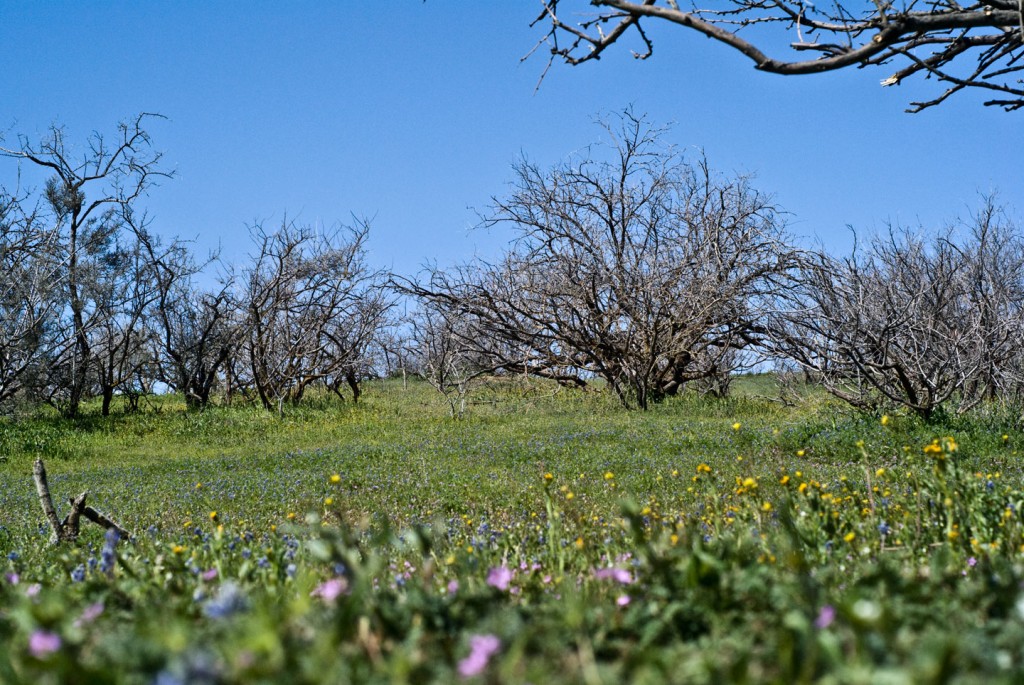
Clarity at + 100
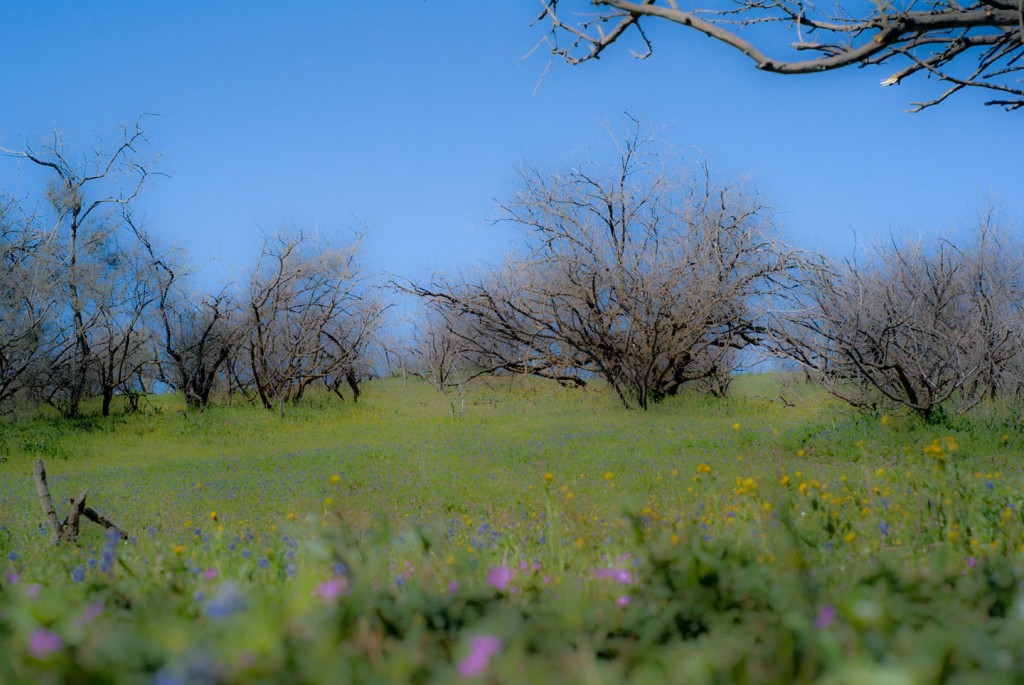
Clarity at - 100.
Vibrance – From a visual standpoint the results of adjusting the vibrance settings may appear very similar to those you get from adjusting the saturation settings. However there are a few subtle differences that make the two unique. Most notably, vibrance changes the saturation of the least saturated colors and has minimal effect on the higher-saturated colors. When you do not need equal adjustment across all colors vibrance is the route to go. Also, when working with portraits vibrance helps prevent skin tones from becoming over-saturated.
Notice the difference between the vibrance -100 image and the Saturation -100 image. The vibrance version still has hints of color left because these were highly saturated to begin with and vibrance has less impact on these types of colors.
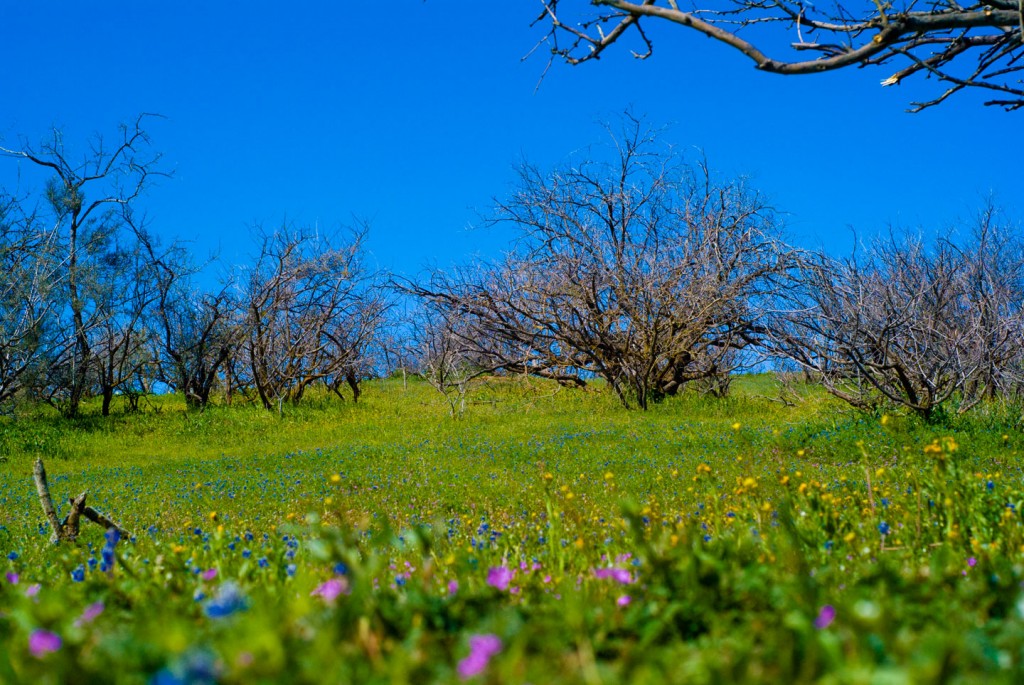
Vibrance at + 100
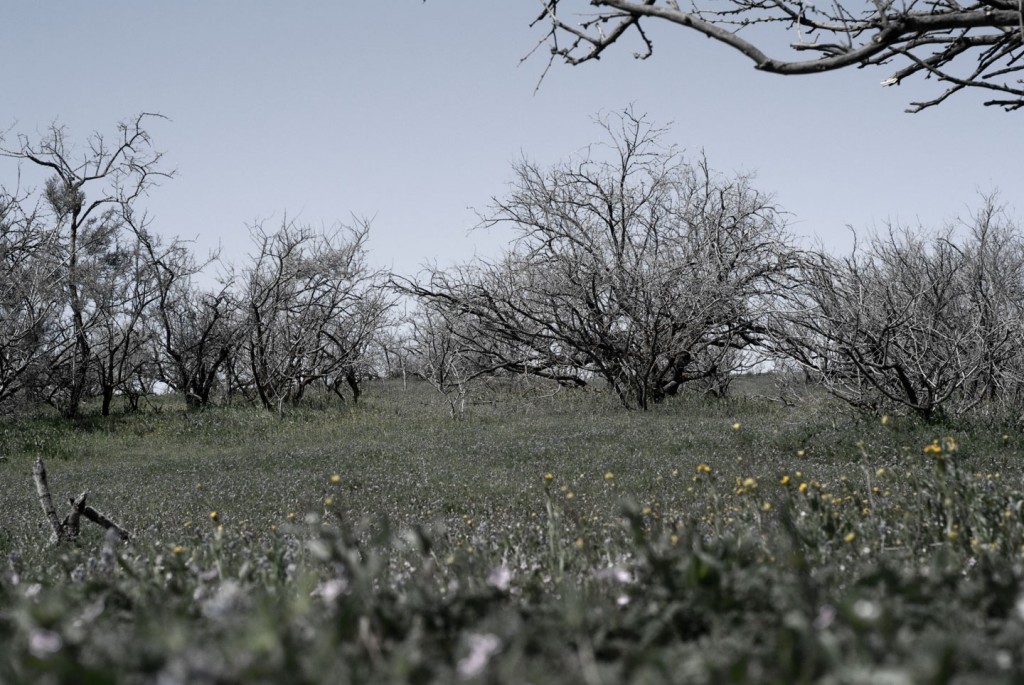
Vibrance at - 100
Saturation – Increasing the saturation will brighten and deepen all of the colors in the photograph across the board, unlike vibrance which acts on the least saturated colors. Going the other direction will remove some of that depth and brightness in the colors and, if you go far enough the image will turn out desaturated or monochrome.
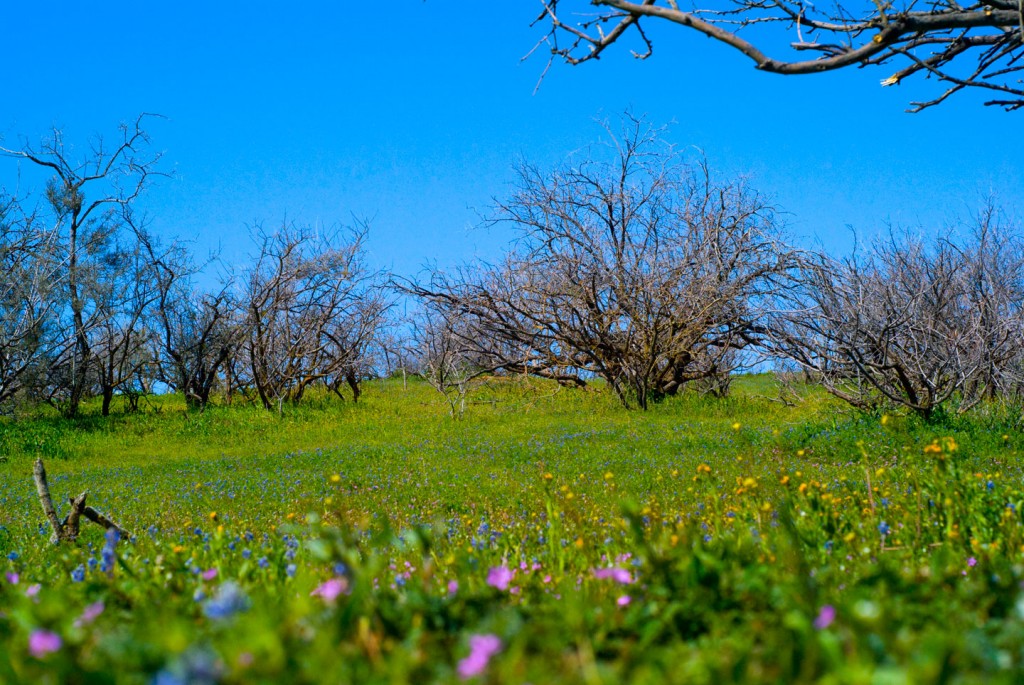
Saturation at + 100
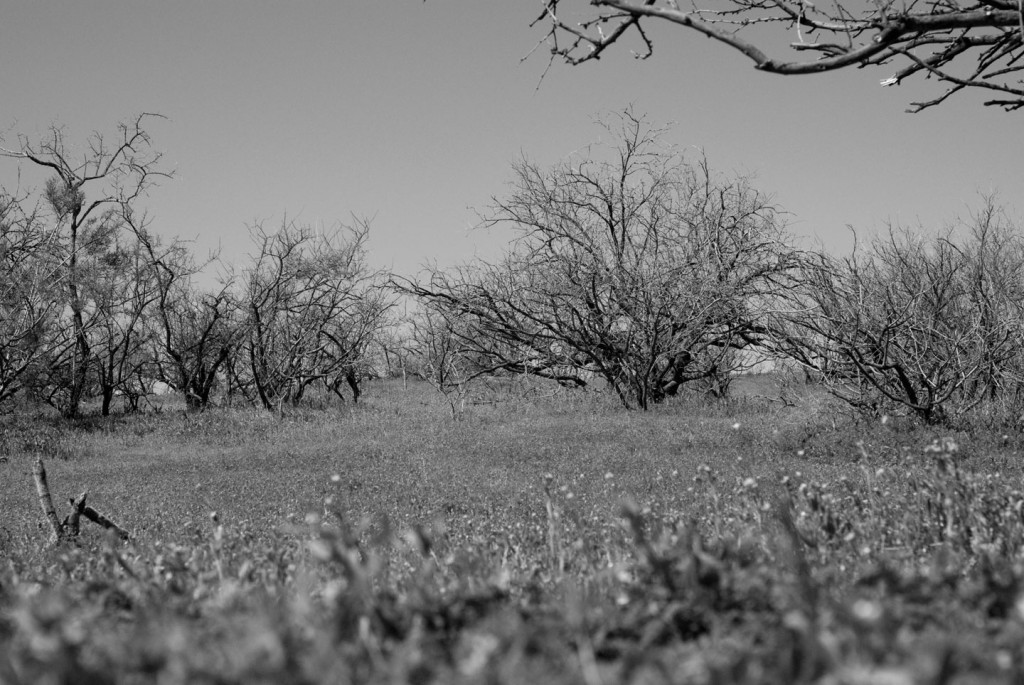
Saturation at - 100
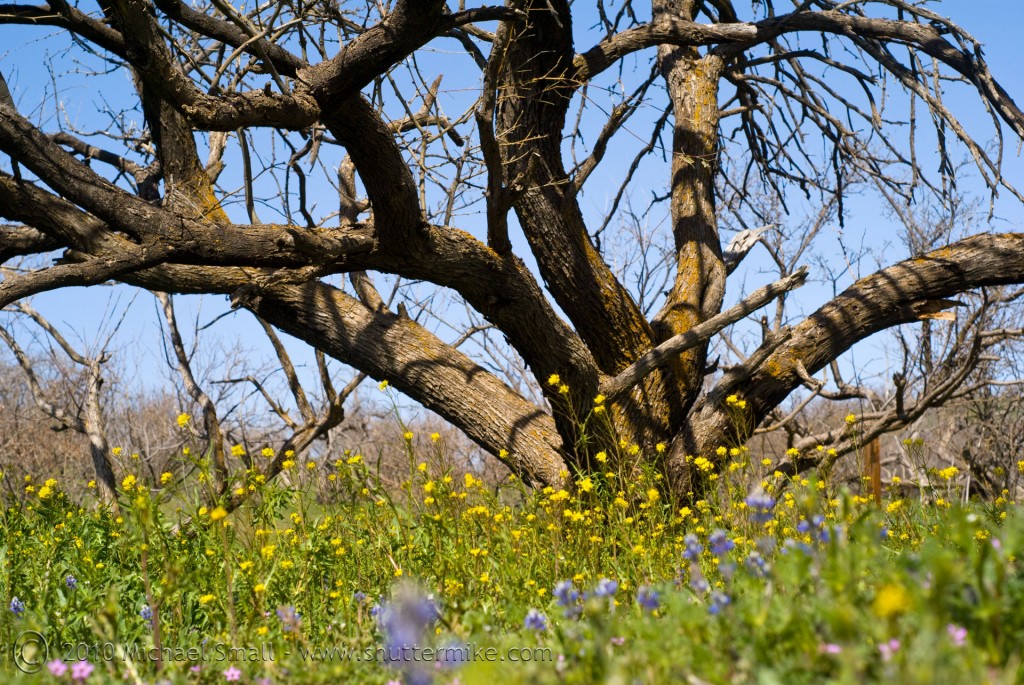 A Different Perspective
f/9.0 – 1/400 sec – ISO 200 – Focal Length 50 mm
This shot required a little dirty work. I wanted to get as low as possible so I was not only looking up at the tree but also at the flowers, the the extent that was possible without digging myself a hole. So by lying down on the ground and getting the camera as low as I could I was able to achieve the bugs-eye-view I wanted.
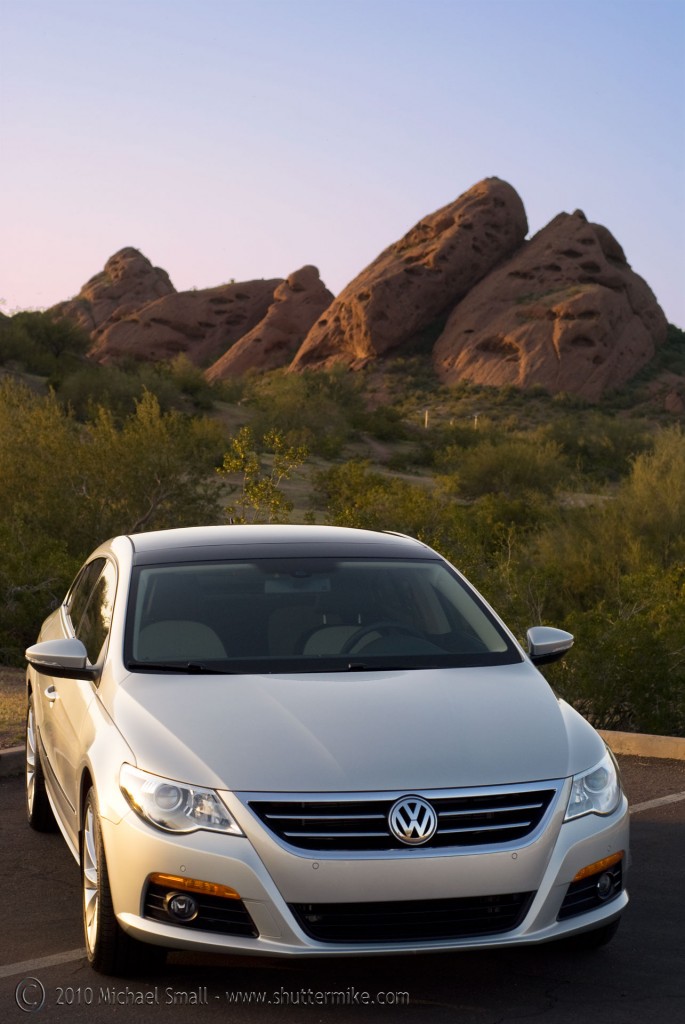 The need or opportunity to photograph a new car in any detail probably won’t come up too often. But shooting a new car can be fun and allow you to explore a subject from every angle. It is a great exercise in seeing. So should the chance come along, here are 5 tips to help you get started photographing a car.
1) Pay Attention to the Light – Although lighting is key when shooting any subject, the lighting you use to shoot an automobile can play an exceptionally important role. With very few exceptions, a new car is very shiny. That means the wrong lighting can reek havoc on your subject. Get the lighting wrong and you can have all kinds of issues; glare, reflections, over exposed in one area and under in another, the list can go on and on. Since most of us cannot set up an indoor studio large enough to accommodate a whole car we have to resort to natural outdoor lighting. But do not fret, there is a magic solution, of sorts. You have two chances each day to find the ideal lighting situation for car photography. The magic hour , as it is known, will give you natural light without harsh shadows or overly bright highlights. This limits you to only an hour of shooting, give or take, but the end results will be well worth it.
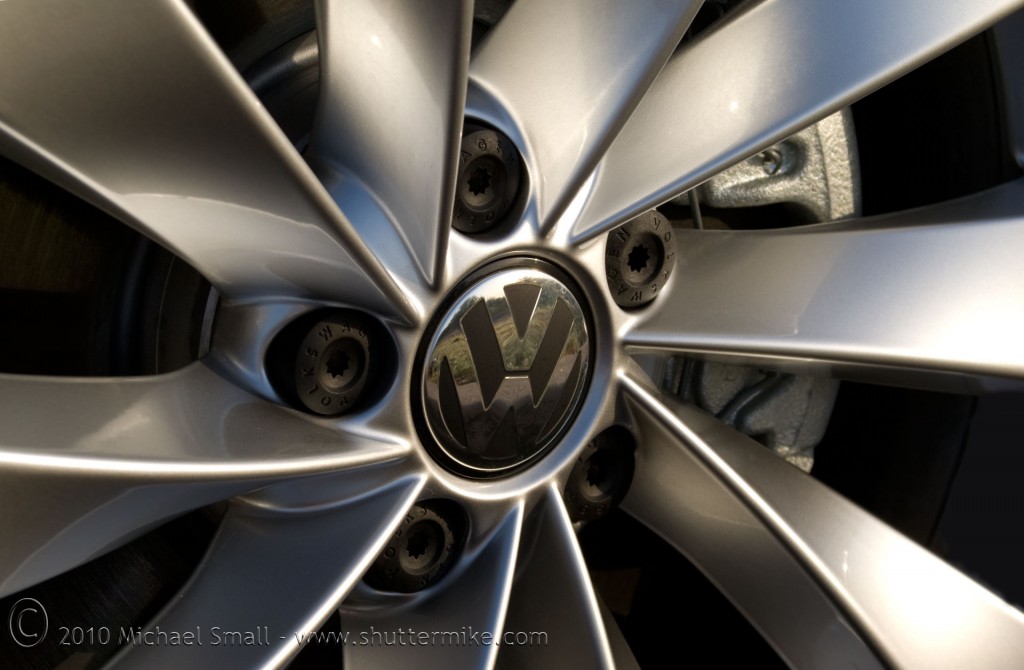 2) Explore – You will want to take the basic shots; one from all four sides. But do not stop there. Explore the car in detail as you would any subject. Get down low – even if that means laying on the ground, get up high – bring a ladder along, get up close, follow the natural lines of the car, check under the hood, in the trunk and don’t miss the interior. And don’t forget the details that make each car unique. Most cars today have some amazing lines and curves that when composed well make great images.
 3) Don’t Let the Minor Details Ruin the Image – When shooting any subject even the most minor thing can distract from the overall image. Think of that one hair that is out of place and how it becomes the focus of a portrait. The same is true when photographing a car. Keep a sharp eye out for these minor flaws that can ruin the otherwise perfect shot such as dust, scratches, window smudges and the like. Of particular importance is reflections. Again, being a shiny object it sees all. Make sure you are not taking an unintentional self-portrait or that other objects nearby are not stealing center stage.
4) Chose Your Location Carefully – When 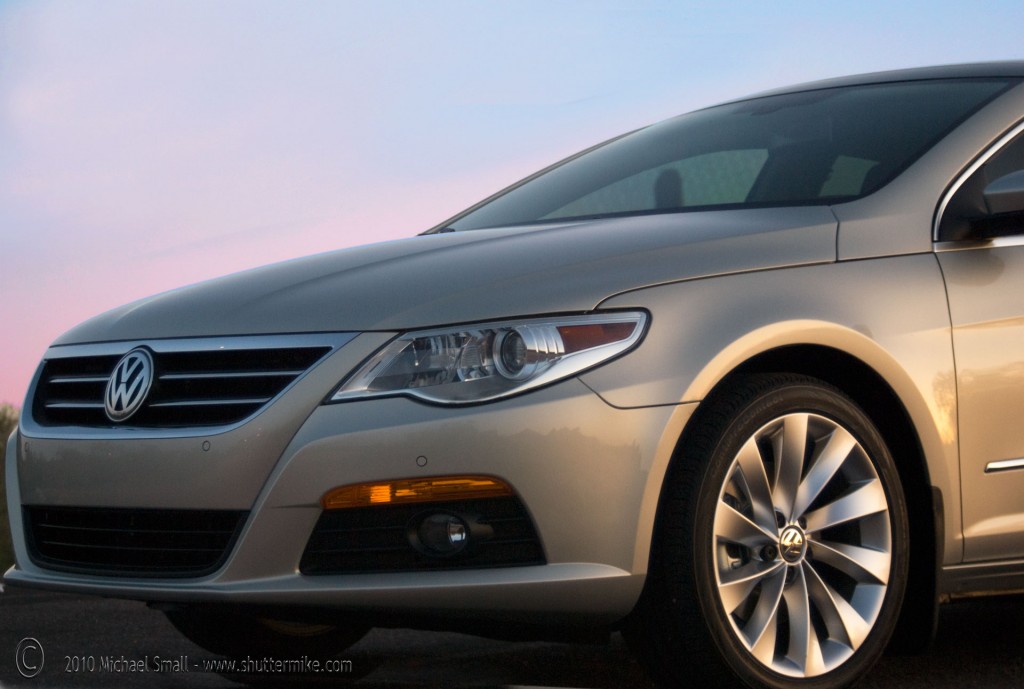 deciding where to photograph the car you want to pick a location that compliments the car and doesn’t steal all the glory. Or worse, one that is just a distraction with too much background busyness. A parking lot may seem like a natural choice for a car, but make sure it is one without 17 other cars making yours look like “just another car.” There should be no doubt that the car is the subject of the photo and not the building, people, city scape or whatever else is in the background. That having been said, an appropriate urban, rural or scenic setting can often compliment the car and help tell its story. Just keep the car as the main character.
5) Post Processing – Post processing, editing images in a software program such as PhotoShop, can be your best friend. In case you miss one of the above tips, and it will happen, there is not much you can’t fix after the fact if your post processing skills are up to it. You obviously want to get as close to the perfect shot the first time right out of the camera. But perfection rarely happens the first time around. So when you have the perfect setting but there is a no parking sign in your shot or you overlook your own smiling face in the chrome, don’t hesitate to save the image with a little magic wand and spot healing.
The Magic Hour, or as it is sometimes called, the Golden Hour, in photography is the time of day when the natural ambient light is said to be at its ideal. Although the time may not be an hour by the clock it is generally the hour (or so) following sunrise and preceding sunset. At these times of day the hue of the lighting is warmer (more towards the orange and reds of the color wheel) and it is less harsh overall. In contrast, mid-day lighting can be overly harsh causing deep and dark shadows and highlights that are too bright. These conditions can often lead to an over exposed image. The softer light of the magic hour will give you a much better lit image and fewer dark shadows.
Lighting, whether ambient or added in, plays a critical role in the end result of the image. Paying attention to the position of the sun and the time of day can make a significant difference and is worth taking into consideration before snapping the shutter.
With the recent death of Jim Marshall, a highly regarded photographer who documented much of the Civil Rights Movement of the 1960s, interest in the photography of that era has been on the rise. Photography played a significant role in documenting the Civil Rights struggle and bringing it to the forefront of America’s consciousness. The New York Times recently published Civil Rights Battles, in Black and White by David Gonzalez on their blog Lens as a tribute to the photography of the era and its role in the movement. Well worth checking out.
The Friends Of San Tan Mountains Regional Park are holding their 4th Annual Amateur Photography Contest. If you are unfamiliar with San Tan Mountains Regional Park it is in the Southeastern part of the metro Phoenix area and is part of the Maricopa County parks system. Situated on over 10,000 acres the park is an excellent representation of the Sonoran desert with diverse wildlife and vegetation.
Even without the incentive of an amateur photography contest, the San Tan Mountains Regional Park is a landscape and nature photographer’s dream. But the Friends of San tan Mountain Regional Park who “…work to protect and preserve the Park’s archeological, historic and traditional cultural areas” have given something extra to “shoot” for with their 4th annual contest. Here are the basics of the contest:
- Entries in one of two age group categories (youth up and including 17 years old and adults 18 and up) will be accepted through May 31st.
- There is a $5 per image entry fee with a maximum of 2 submissions per entry.
- The photos have to be taken within the park, of course.
- Photos will be on display in the visitors center and judged by the public with final judging by the board.
- A Certificate of Excellence Award will be awarded to the winners in each division and the photos will be used for fund raising purposes for the Friends of San Tan Mountain Regional Park.
See the San Tan Park Photo Contest Rules for more details and the entry form. Even if you aren’t up for entering a contest (which you should be) head out to the park for some great photography opportunities. The weather is perfect for a hike and with all the rain this winter the wildflowers will certainly be worth the trip alone.
Tamron, maker of a wide range of SLR and DSLR lenses, has announced a new photography contest. The second in a series of four contests they are hosting in 2010 this one’s theme is Backyard Wildlife. As the theme suggests your entries must represent wildlife in y our local area in their natural environment. No zoo, aquarium or otherwise non-native “captive” wildlife. The contest runs from April 1, 2010 to June 30, 2010 and supports the National Wildlife Federation through a $0.25 donation per entry from Tamron. The grand prize winner, determined by guest judge Jackie Bailey Labovitz, will receive their choice of the following lenses as well as some great exposure through Tamron’s website and Facebook fan page.
AF18-270mm F/3.5-6.3 VC Di-II
SP AF17-50mm F/2.8 Di-II VC
SP AF10-24mm F/3.5-4.5 Di-II or
SP AF60mm F/2 Di-II
Details on how to enter with all the fine print can be found here. For a little wildlife photography expert advice check out my post on BBC Wildlife Magazine’ s Photo Masterclasses now available for free download.
 BBC Wildlife Magazine is well known for its spectacular wildlife photography form around the world. The pages are graced time and time again with wildlife and nature photography that will make you want to go on safari or deep into the jungle tomorrow. But above and beyond beautiful photography the expert photographers at BBC Wildlife also offer advice and tips on photographing animals and nature through a series of Photo Masterclasses. Now you can get all 21 Photo Masterclasses packed with advice, tips and expert know-how on a vast range of nature photography how-to topics. The classes all of the basics for improving your photography skills. Here are just a few of what is available all for FREE:
- Plant Portraits
- Animals in their Environment
- Bird Portraits
- Urban and Garden Wildlife
- Zoo Photography
- Extreme Close Up
Each topic is concise and full of great advice that will help you to improve you photography of animals and nature. You can download all 21 Photo Masterclasses in PDF format.
 The original photograph with all saturation settings at the default level of zero.


 BBC Wildlife Magazine


