17 Feb 2010
Photo of the Day – Orange Details
Architectural Photography, Arizona Photography, Phoenix Area Photography, Photo of the Day No Comments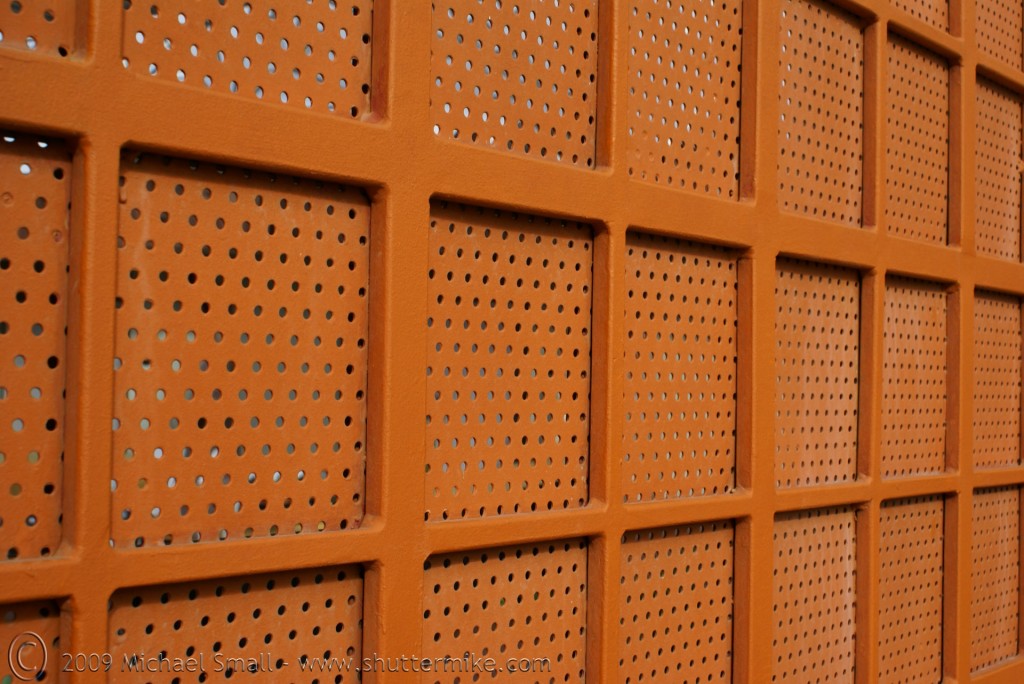 Orange Details
Hotel Valley Ho – Scottsdale, AZ
f/11 – 1/100 sec – ISO 100 – Focal Length 30 mm
Orange Details
Hotel Valley Ho – Scottsdale, AZ
f/11 – 1/100 sec – ISO 100 – Focal Length 30 mmArchives for February, 2010
17 Feb 2010
 Orange Details
Hotel Valley Ho – Scottsdale, AZ
f/11 – 1/100 sec – ISO 100 – Focal Length 30 mm
Orange Details
Hotel Valley Ho – Scottsdale, AZ
f/11 – 1/100 sec – ISO 100 – Focal Length 30 mm16 Feb 2010
Perfecting night photography can take some practice and a few pieces of extra equipment such as a tripod. Setting a wide aperture, a longer shutter speed, adjusting the ISO up as necessary and using a tripod all work together to compensate for the darkness of night. The key is to get just enough light to the sensor (aperture setting) for just enough time (shutter speed) with as little camera movement (tripod) as possible. Sounds almost impossible. But if you have the patience and practice you can get some great night time photographs.
The Phoenix area has some perfect spots for practicing and perfecting your night photography skills.
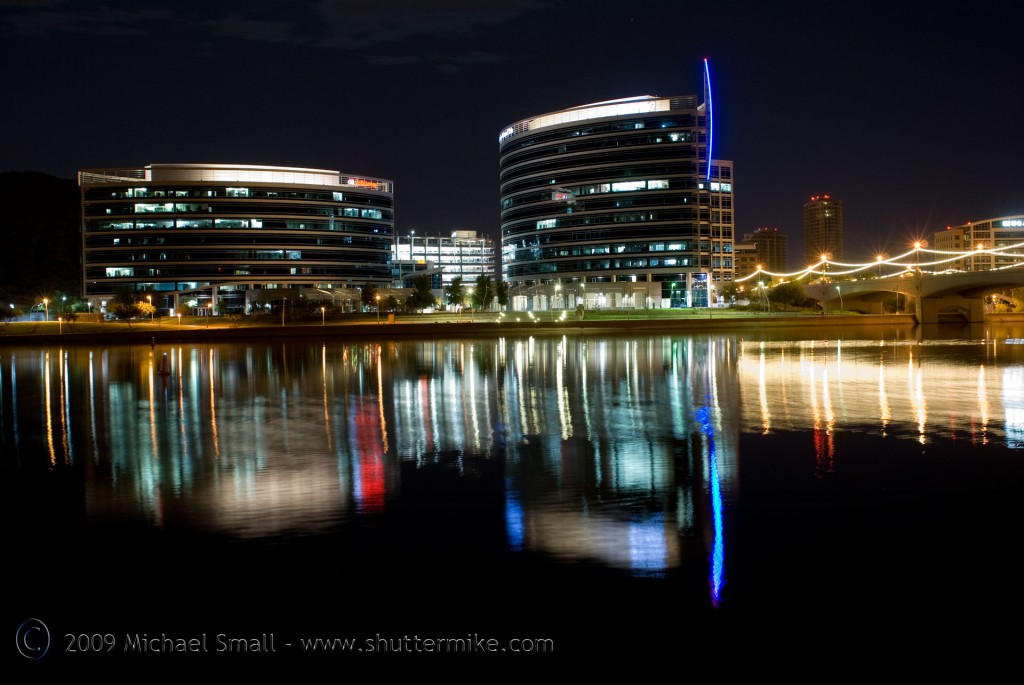 Tempe Town Lake
Tempe Town Lake is best photographed from the north shore at night. This vantage point gives you the opportunity to capture the Hayden Ferry office buildings and the Mill Avenue Bridge as they are lit up and reflecting into the waters of the lake. The Metro Light Rail bridge is also a great night time subject. This photo was shot with an aperture of f/5.0 and a shutter speed of 8 seconds with the aide of a tripod.
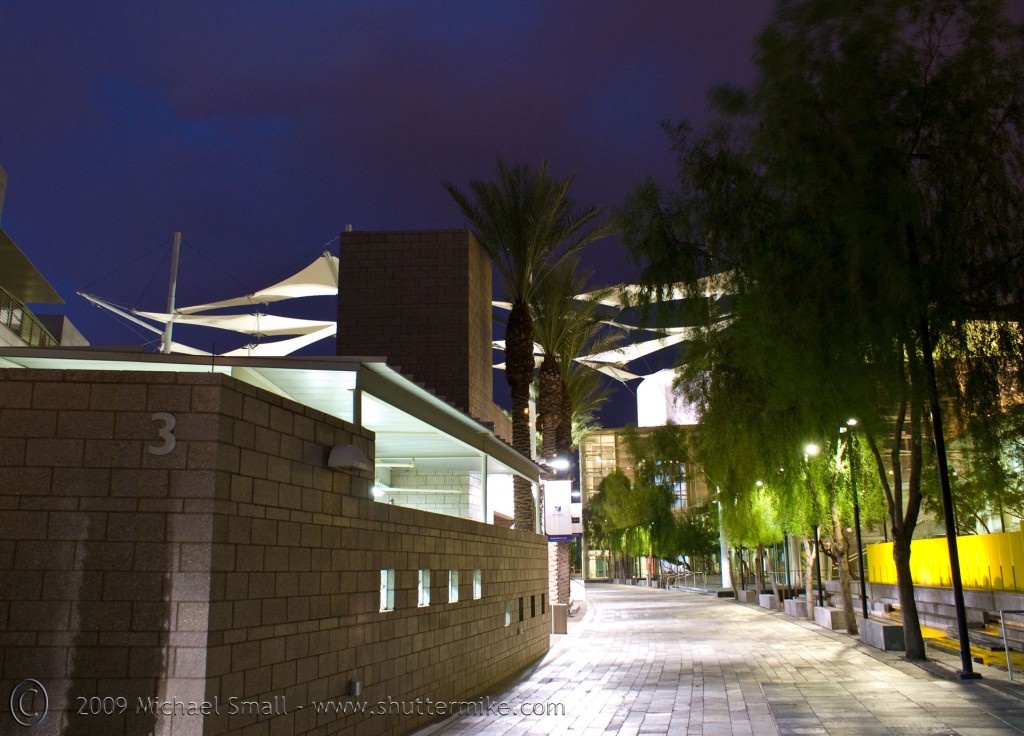 Mesa Arts Center
As anyone who has followed my blog knows, The Mesa Arts Center is one of my absolute favorite spots in the Phoenix area to photograph, night or day. But at night it is especially beautiful. The architects worked with light and color making them compliment the architecture of the arts center campus exceptionally well. This photo was taken with an aperture of f/4.0 but a shorter shutter speed than the one of the Tempe Town Lake at only 1.6 seconds. The extra ambient lighting allowed for this shorter shutter speed yet I still used a tripod as anything much over 30 seconds is difficult to hold steady for me.
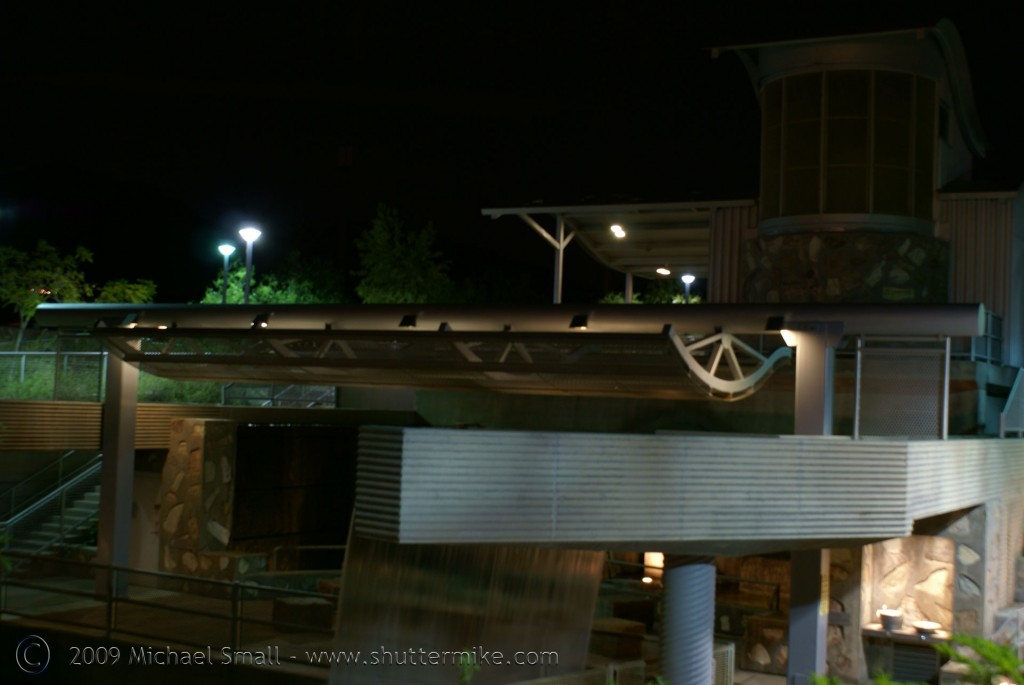 Arizona Falls
Arizona Falls might not come to the top of most lists as a great photography spot. It is after all just a power generating plant. However, it is also a public work of art of sorts. And at night the concrete, stone and steel structures are lit up. The lights and the water make for some great night time composition possibilities. This photo was shot with an aperture of f/5.6 at 4 seconds and with the aide of a tripod.
 Joe’s real BBQ – Gilbert, AZ
Downtown Gilbert does not consist of much square mileage. But there is a lot going on packed within its boundaries that make it worth a night time trip with camera in hand. If you are a neon sign enthusiast there are several good classic signs to capture. This one for Joe’s Real BBQ – an excellent place to eat – was captured with an aperture of f/5.6 at 1/125 seconds. The short shutter speed was possible because I increased my ISO up to 800. This also allowed me to go without the tripod in this instance.
The four spots in the Phoenix area for night time photography are just a sampling of what you will find. A few others you should consider are downtown Phoenix, the Scottsdale Civic Plaza, the Arizona Biltmore Resort, Main St. in Mesa for more vintage neon, and the Mill Ave. District in Tempe. This should give you plenty of opportunities to practice and improve your night photography skills.
16 Feb 2010
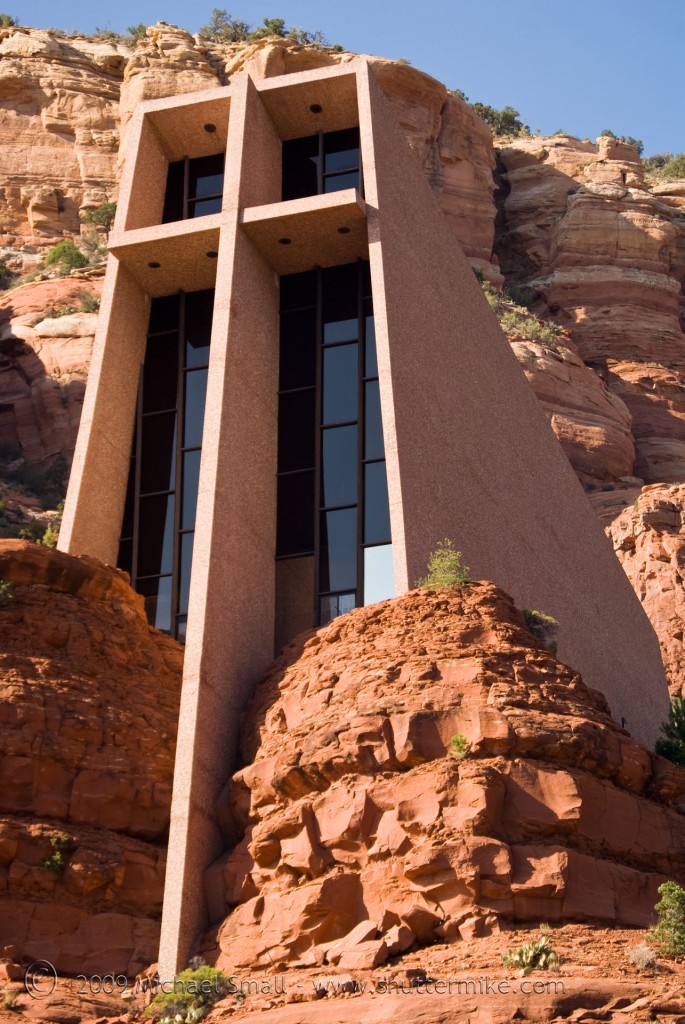 Iconic Sedona
Church of the Holy Cross
f/6.3 – 1/200 sec – ISO 100 – Focal Length 85 mm
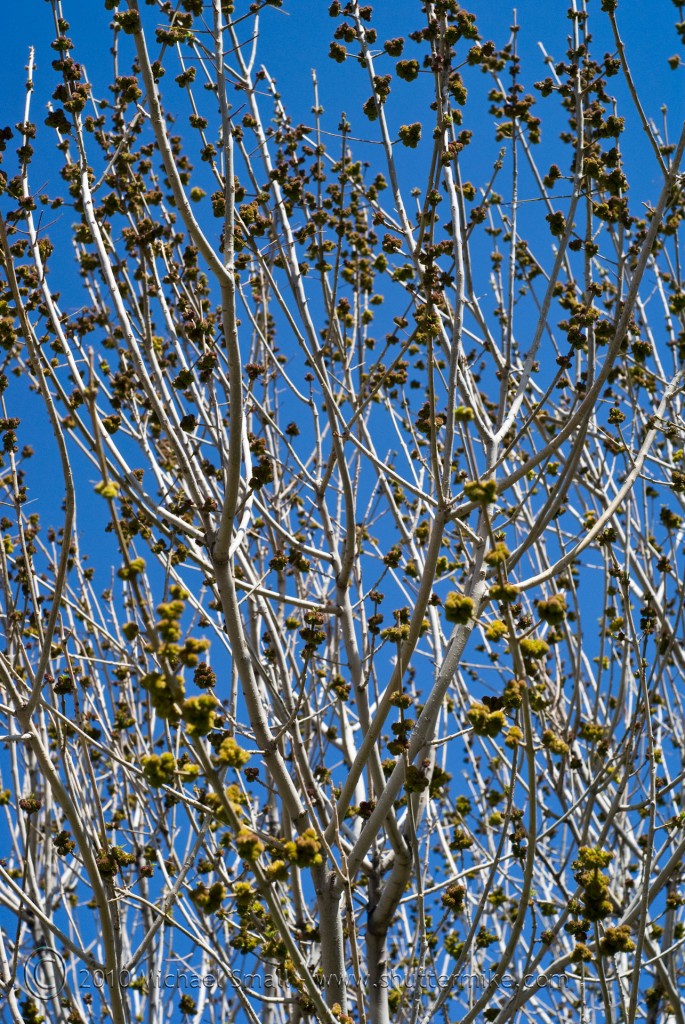 A Hint of Spring
f/7.1 – 1/320 sec – ISO 100 – Focal Length 50 mm
Spring in February? In Arizona, yes. As most of the rest of the country is digging out of snow the leaves are starting to grow back on the trees here in Arizona. Most of these trees only lost their leaves a month ago.
The term bokeh refers to blur in an image. But more specifically, it refers to blur used for aesthetic or artistic purposes not just “oops I did not focus properly blur.” Good bokeh is generally used for parts of the image that are outside of the depth of field to render them blurred and distinguish them from the main focus of the photograph. However, as with all of the rules of photography, sometimes you need to reinterpret them or outright break them. If it makes sense to you to blur the entire image then go for it. Since bokeh is an artistic effect it is open to the interpretation of the photographer and should be used to create an more beautiful image.
You can achieve a bokeh effect in your photographs using the same principles you do to accomplish a shallow depth of field. To manipulate the depth of field you can adjust several factors such as lens focal length, aperture, and shooting distance. Using a large aperture (smaller f number) will give you a shallow depth of field in your images thereby blurring out the background of the scene. You can also accomplish a full image bokeh effect by setting your camera to manual focus and intentionally not bringing your subject into clear focus. Generally an over blurred image is considered a mistake and not bokeh. But if you can pull it off and it works with the image you are presenting there is no reason not to experiment and see what you can come up with .
11 Feb 2010
Outdoor Photographer magazine is hosting another photo contest. The Great Outdoors Photo Contest is accepting submissions of outdoor location photographs from around the world. The grand prize winner will be determined by a panel of judges who are looking for “adherence to theme, composition and creativity/originality.” The grand prize winner will have their image published in the August 2010 issue of Outdoor Photographer magazine, receive $1500 in cash, a Tamrac Aero Speed Pack 85 Dual Access Photo/Laptop Backpack, a Duggal 16×20 print of your photo, a Manfrotto tripod and a PNY memory card.
Enter your photos here and good luck!
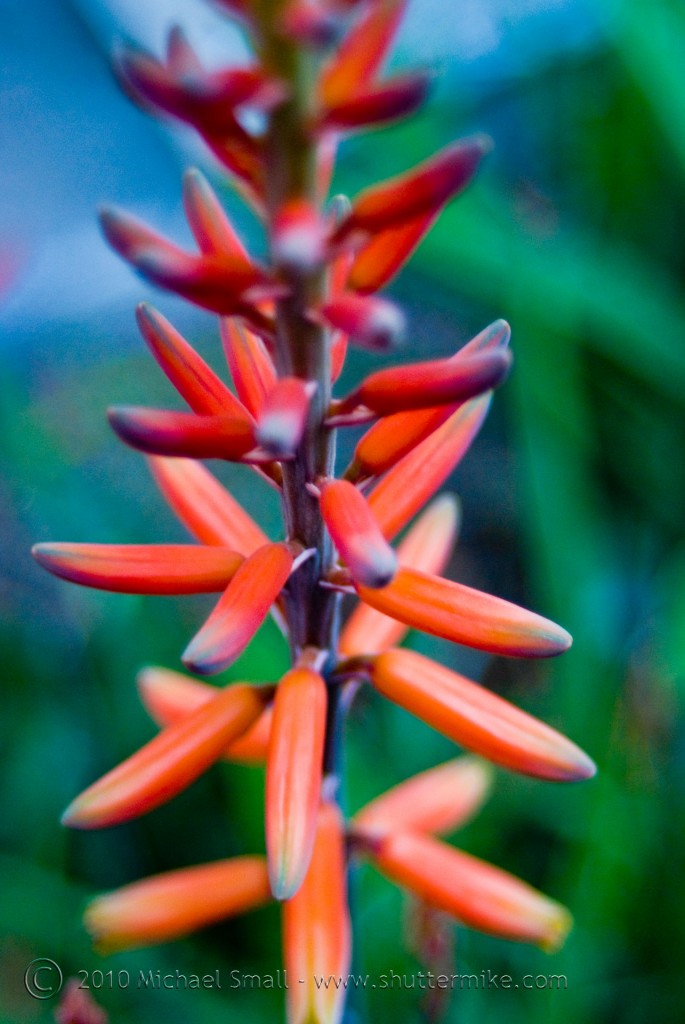 Aloe Saturation
f/5.6 – 1/13 sec – ISO 400 – Focal Length 75 mm
I took this photograph of an aloe bloom in my backyard as part of the Faded and Blurred 365 Photo Project I am participating in. As is sometimes the case, it did not turn out exactly as I had planned. The lighting was off, which can easily be fixed in Photoshop, but it was not as sharp as I would have liked, which is harder to adjust after the fact. Unfortunately I had run out of daylight and since the project calls for one photo a day I needed to get something done before the next day began. So I decided to experiment with a few of the settings in Photoshop to see if I could compensate for my lack of focus.
I started with the RAW file in Photoshop CS4 and played with the settings in the camera RAW window until I got the image to a point where I liked the “enhanced” coloration. For this image the clarity, vibrance and saturation were all increased in order to mask the lack of sharp focus and make the coloring the main subject of the image.
10 Feb 2010
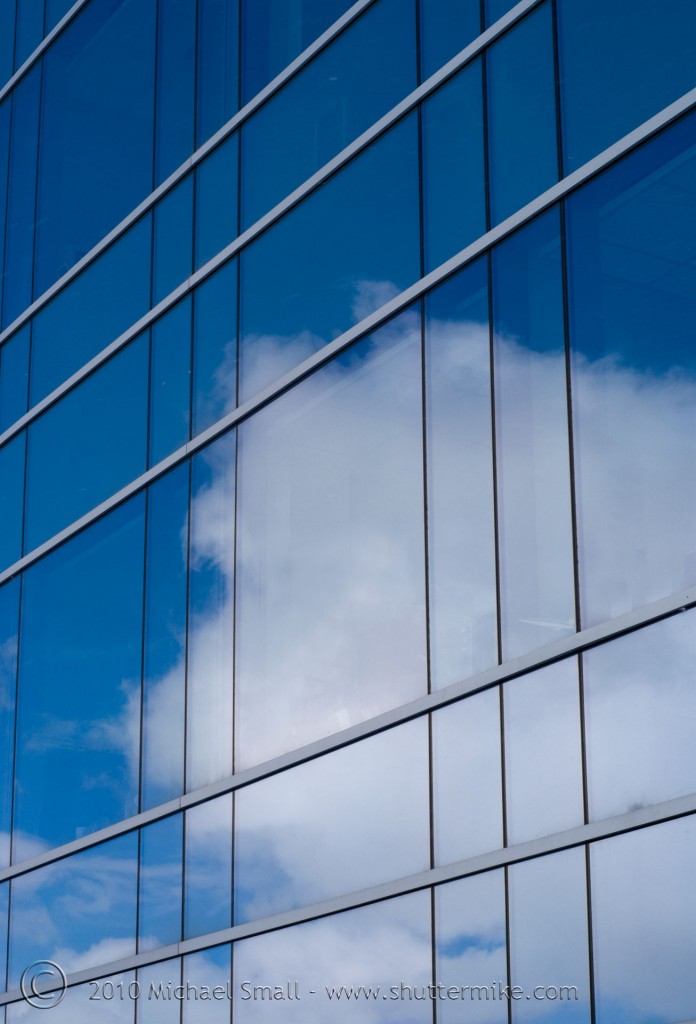 Cloud Reflections
f/13 – 1/250 sec – ISO 100 – Focal Length 50 mm