28 Feb 2010
Photo of the Day – Arizona Biltmore
Architectural Photography, Arizona Photography, Phoenix Area Photography, Photo of the Day No Comments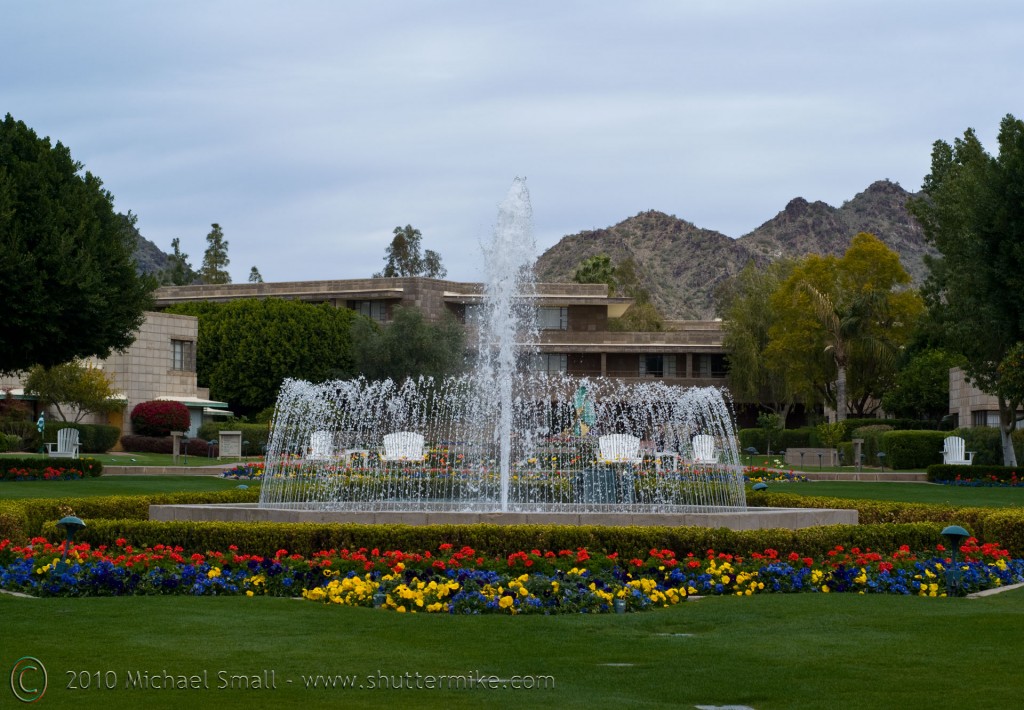 Arizona Biltmore Resort
f/8 – 1/320 sec – ISO 100 – Focal Length 50 mm
Arizona Biltmore Resort
f/8 – 1/320 sec – ISO 100 – Focal Length 50 mmArchives for February, 2010
28 Feb 2010
 Arizona Biltmore Resort
f/8 – 1/320 sec – ISO 100 – Focal Length 50 mm
 Red, White and Green
Caprese Sandwich – A traditional Italian combination of tomatoes, mozzarella, and fresh basil served on crusty bread
f/3.2 – 1/8 sec – ISO 100 – Focal Length 50 mm
Red, White and Green
Caprese Sandwich – A traditional Italian combination of tomatoes, mozzarella, and fresh basil served on crusty bread
f/3.2 – 1/8 sec – ISO 100 – Focal Length 50 mmPhotographing your pet is something most every pet owner does. But getting a good photograph of your pet eludes most of us. Pets tend to not be as cooperative as human subjects (although sometimes the opposite is true). This makes the pet snapshot much more common than the pet portrait. However, there are a few things you can do to capture a good portrait of your pet.
 1) Avoid using the flash – The flash can cause some eerie effects in the eyes of your pets, from red eye to green glowing demon eyes. In addition a particularly skittish pet can be easily frightened by a flash going off. A tripod and proper exposure settings can compensate for the lack of flash when an abundance of natural light is not available.
2) Keep it natural – Natural light is ideal for most portraits when you can get it. This is especially true for your pets given the negative effects of using a flash. Natural light also allows you to capture your pet in their natural setting. A cat in a sun filled window or a dog in a grassy back yard provides both natural light and puts them in their element.
 3) Fill the frame – Using this composition technique can make for a great pet portrait. Get in close, preferably with your zoom lens so as not to startle them, and fill the entire frame of the image with your pet. This keeps out the distractions of the background and keeps the focus on the subject of the photo, your pet.
4) Don’t try to pose – Trying to pose your pet and getting them to keep the pose long enough to take the photo is an exercise in futility. Both you and your pet are going to end up frustrated. Keep it natural and let your pet chose their own pose. It will make for a much better portrait.
 5) Get down to their level – The angle from which you shoot can make all the difference. Some of the best pet portraits take into consideration that anything but being at the cat or dog’s level (or lower) is going to be little more than a great shot of the top of their head.
6) Try the unconventional – Not every portrait has to be a head shot. Paws, tails and ears can make for great detail shots. Don’t limit yourself to just the conventional.
7) Have patience – You have heard the expression “it is like herding cats.” Cats in particular can be a challenge and their natural disinterest in cooperation can make photographing them difficult. The same can be true of all but the most well trained and obedient dogs. Patience will go a long way and be prepared for a lot of takes for the one good shot.
26 Feb 2010
 Proverbial Leading Lines
The fading railroad tracks are the most photographed example of leading lines.
f/9.0 – 1/100 sec – ISO 100 – Focal Length 26 mm
Proverbial Leading Lines
The fading railroad tracks are the most photographed example of leading lines.
f/9.0 – 1/100 sec – ISO 100 – Focal Length 26 mm25 Feb 2010
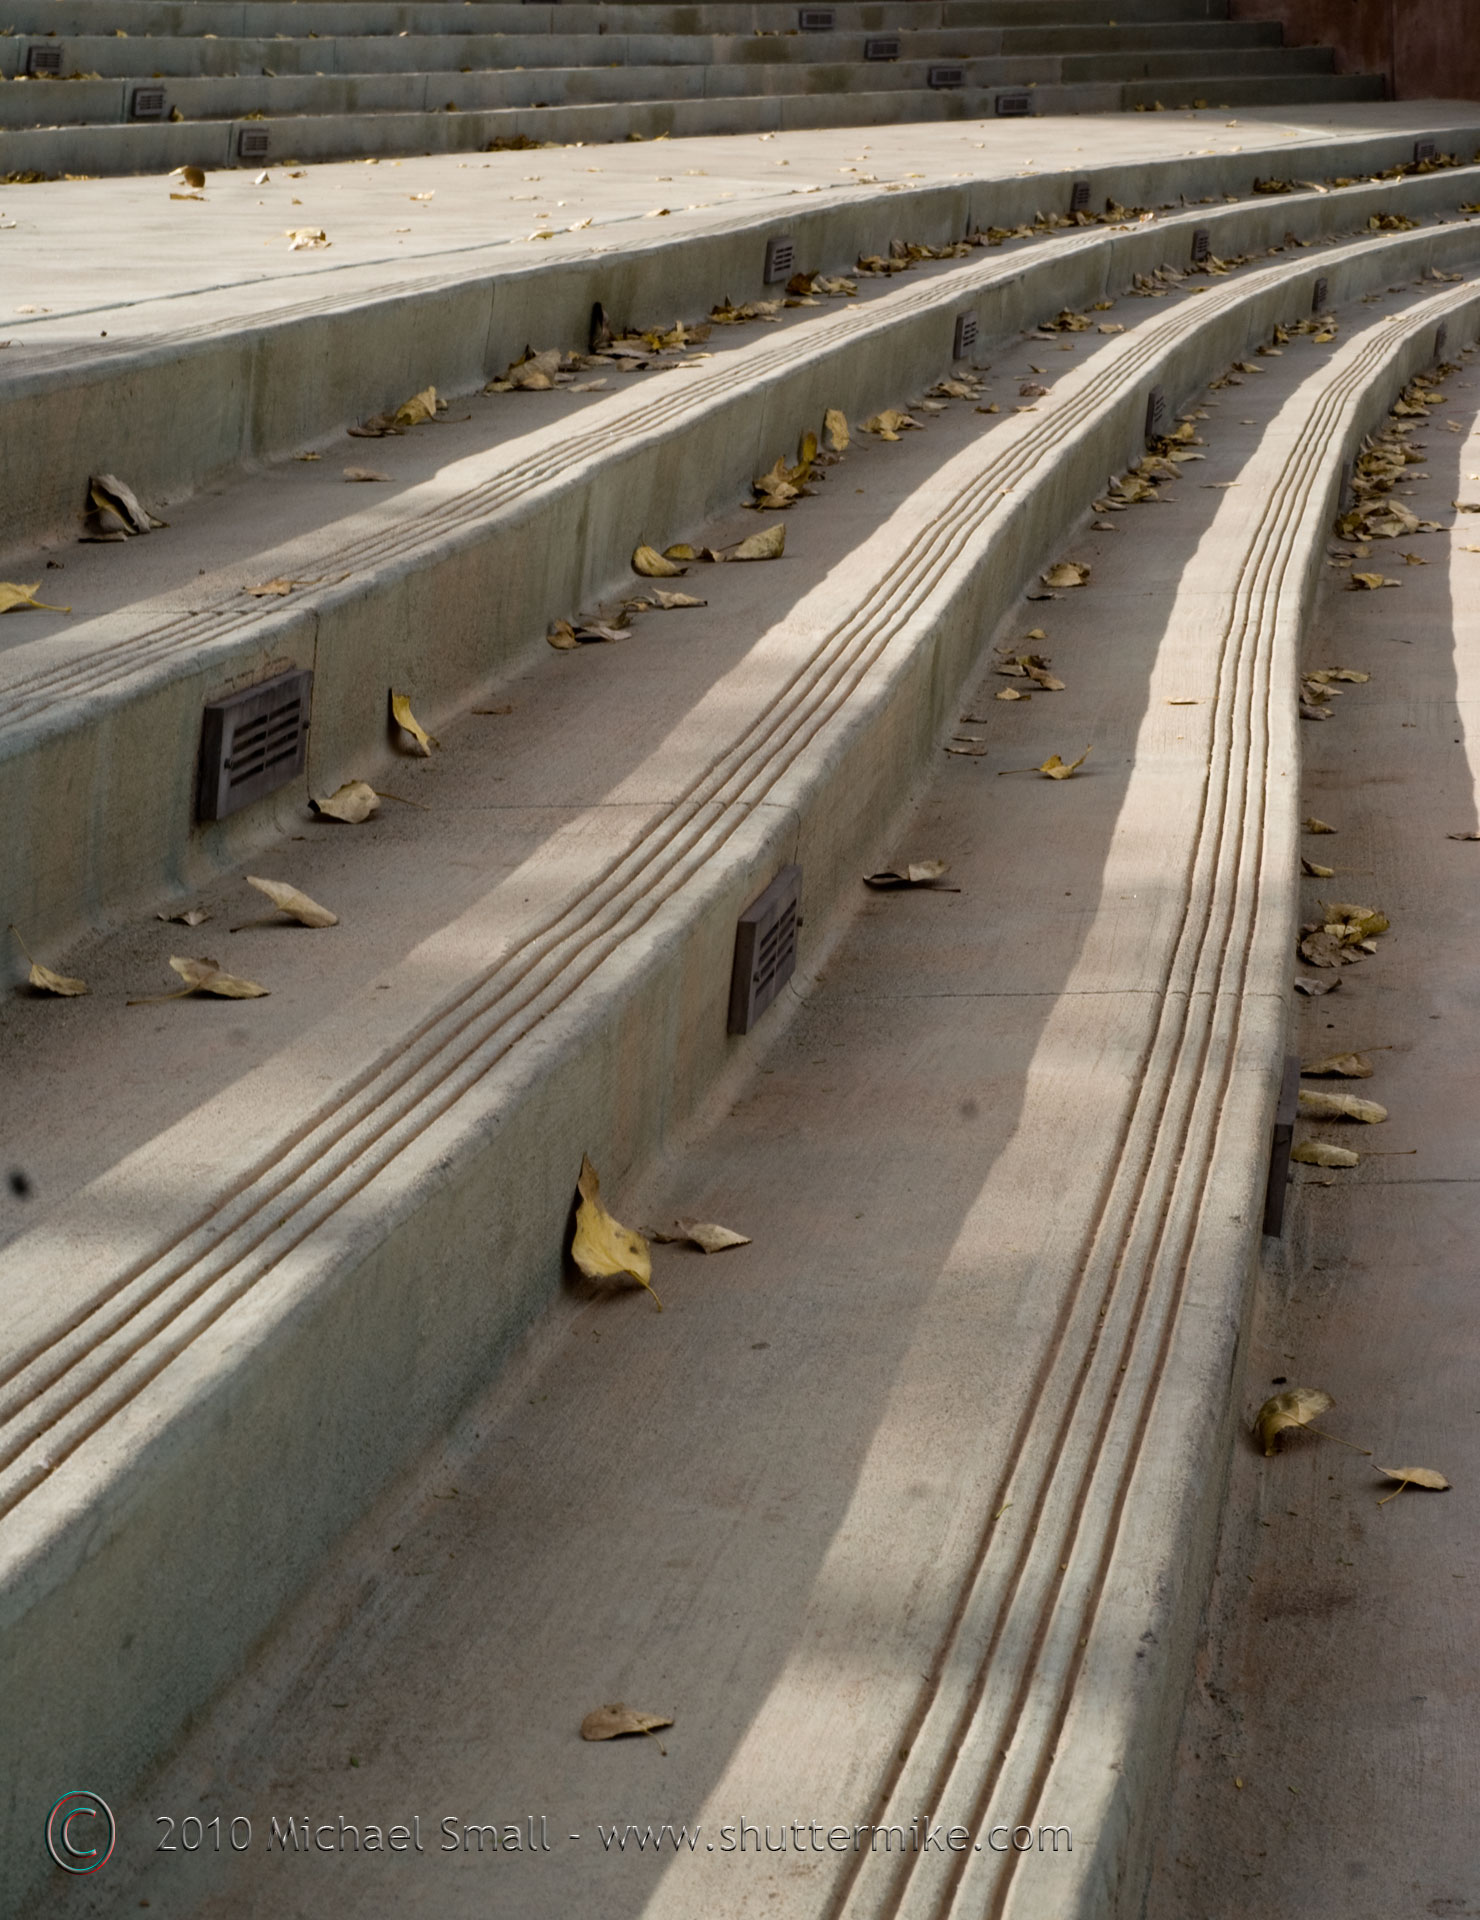 Concrete Lines
f/18 – 1/60 sec – ISO 100 – Focal Length 50 mm
Concrete Lines
f/18 – 1/60 sec – ISO 100 – Focal Length 50 mm25 Feb 2010
My friend over at Awesome Toy Blog forwarded me an article from the British Journal of Photography about photographer’s rights in the UK. There has been a lot of buzz in photography news lately about the rights of both amateur photographers as well as photojournalists in the UK being impeded upon by the police. Although you hear similar stories of “harassment” from the police of photographers here in the US, the British seem to have taken it to a whole new level. All in the name of anti-terrorism.
New laws that recently went into effect in the UK could result in jail for photographing police. The laws:
allow for the arrest – and imprisonment – of anyone who takes pictures of officers ‘likely to be useful to a person committing or preparing an act of terrorism’.
This seems to leave a lot of room for interpretation by the police while limiting the rights of the photographer even further. There have been stories of everyone from press photographers to wedding photographers being stopped, questioned and even detained for what the police determine to be “suspicious” photography behavior. I would hope this would be no more than a minor inconvenience for the truly innocent but at the same time it seems to be taking things too far. Especially when images of more and more public spaces are readily available to anyone on the web via Google maps and live web cams that record more and more of our everyday lives. Are the terrorists really the ones standing in front of Parliament with their Canon DSLR snapping photographs?
24 Feb 2010
Photoburst.net hosts a daily travel photography contest on an ongoing basis. A new photo of the day is selected each day from all of that day’s submissions and is highlighted on the site. Then at the end of the week a top photo from all of that week’s daily winners is selected. Finally each photo of the week has a chance to become the photo of the month. Monthly winners receive a $50 gift certificate to Kiva.org and get to be a guest editor the following month.
If you have not heard of Kiva, it is a microfinance company that makes small loans to entrepreneurs around the world with the goal of alleviating poverty.
24 Feb 2010
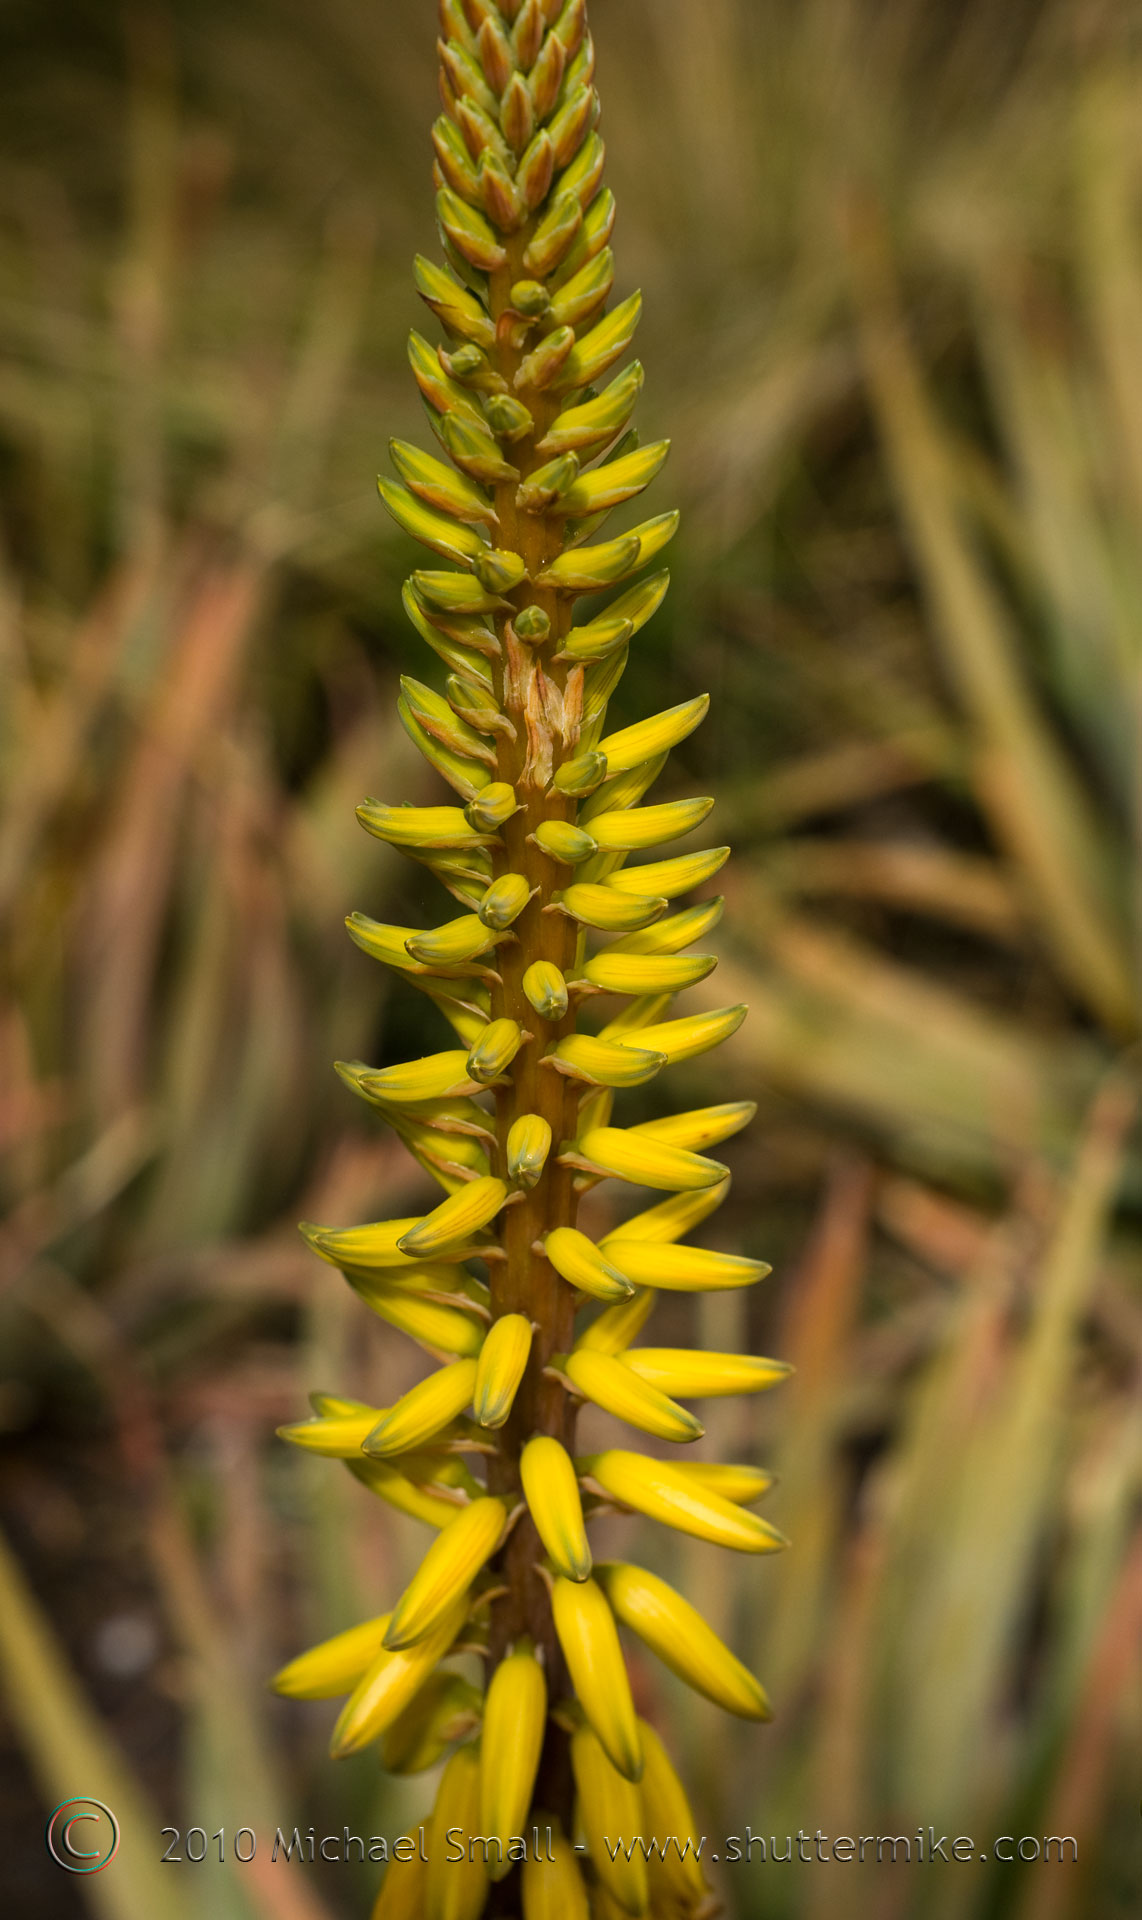 A Pop of Yellow
Yellow Blooms of an Aloe Plant at Scottsdale Xeriscape Garden
f/5.6 – 1/400 sec – ISO 100 – Focal Length 50 mm
A Pop of Yellow
Yellow Blooms of an Aloe Plant at Scottsdale Xeriscape Garden
f/5.6 – 1/400 sec – ISO 100 – Focal Length 50 mm23 Feb 2010
Sometimes you capture an image where the subject is right and the composition is just what you were hoping for but the exposure is off or the color saturation is not what it could be. With post-processing the image is not lost. In the photo below I was very happy with the subject and with a little cropping the composition was what I had intended. However, the coloring of the photographer was very dull. The cloudy sky and the snow covered building and trees made the whole image very gray and dark. By using the quick mask feature of Adobe Photoshop CS4 I was able to select the sky and make a few digital enhancements.
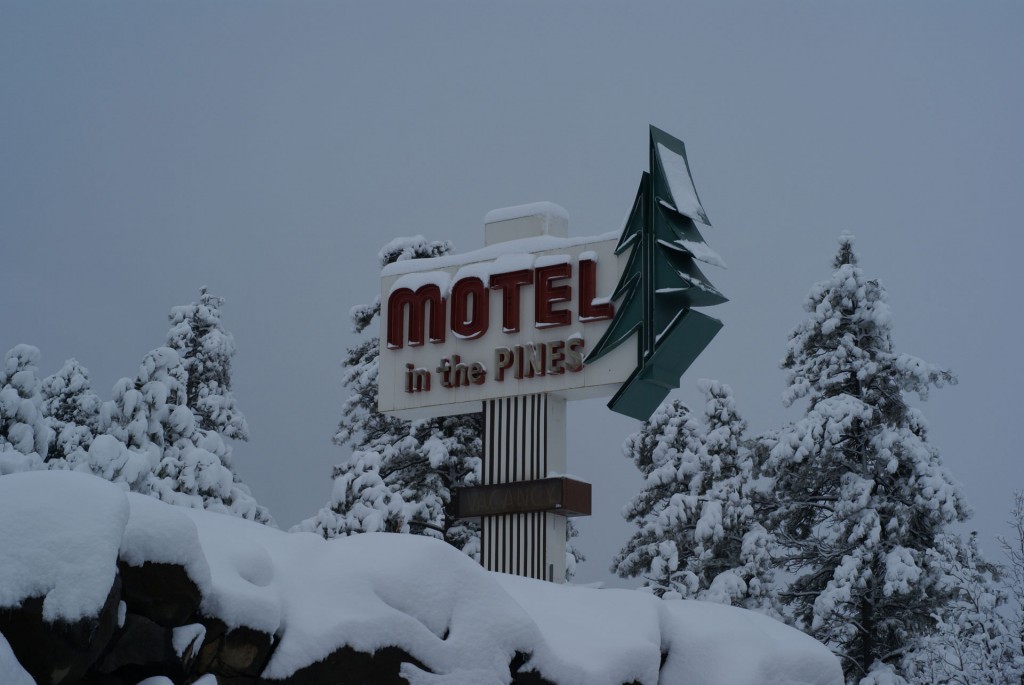 Image before any post-processing work
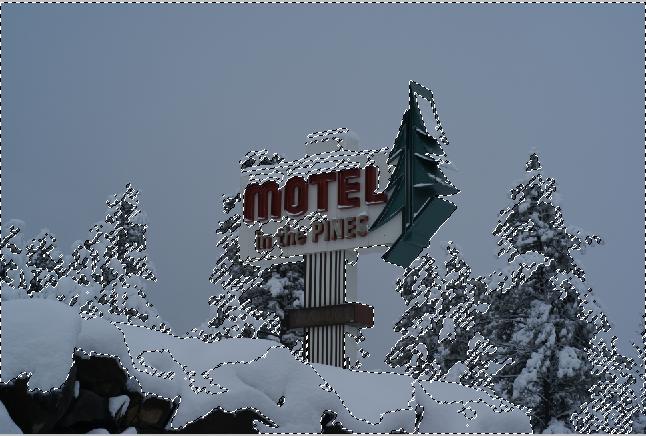 The first instinct in Photoshop may be to use one of the selection tools from the tools menu such as the magic wand or one of the lasso tools. But in this particular photo’s case the magic wand tool selects much more than just the sky because everything is so similar in tone (see image at the right). And the lasso tools are more difficult to use because of all the non-uniform edges of the trees.
This makes the quick mask tool a great alternative. I feel that it allows for more control over the area you are selecting.
Before getting into the quick mask tool I opened the image in camera RAW and made some basic adjustments to white balance and exposure to brighten the image overall. But the image was still too monotone.
![]() 1) The Quick Mask tool can be found at the bottom of the tools menu.
1) The Quick Mask tool can be found at the bottom of the tools menu.
2) 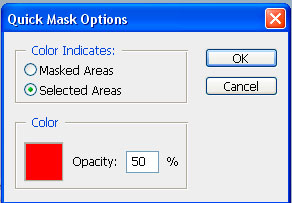 Double click it to get started and the Quick Mask Options window will open. Select the “Selected Areas” option and the opacity can be left at the default 50%. Click OK.
3) Now select your paint brush and set the brush size to something appropriate for paining in the area you want to select.
4) Then trace an outline around the area to be selected. You will notice this method is much more forgiving than the lasso selection tools. It will look like you are painting your image pink, but don’t worry this will go away.
5) Next you need to fill in the area inside of your outline. You can either do this with your paint brush or with the paint bucket tool. The resulting image should have your selection in pink as shown below.
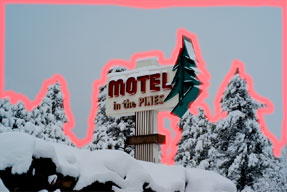
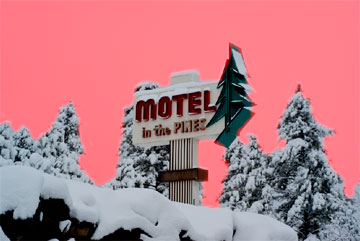
6) Now turn the quick mask off by clicking the same button you used to turn it on. Your painted area will turn to a selection as indicated by the flashing dotted lines.

7) From the Layer menu select New Adjustment Layer and then select the adjustment you want to make to the selected area. In the case of my overly dull sky I selected a color balance adjustment, but play around with it to find the effect you like.
8 ) Make your adjustments and save your image. I over did the coloring on this image to emphasize the effect, but you can go as subtle or as wild as you want.

23 Feb 2010
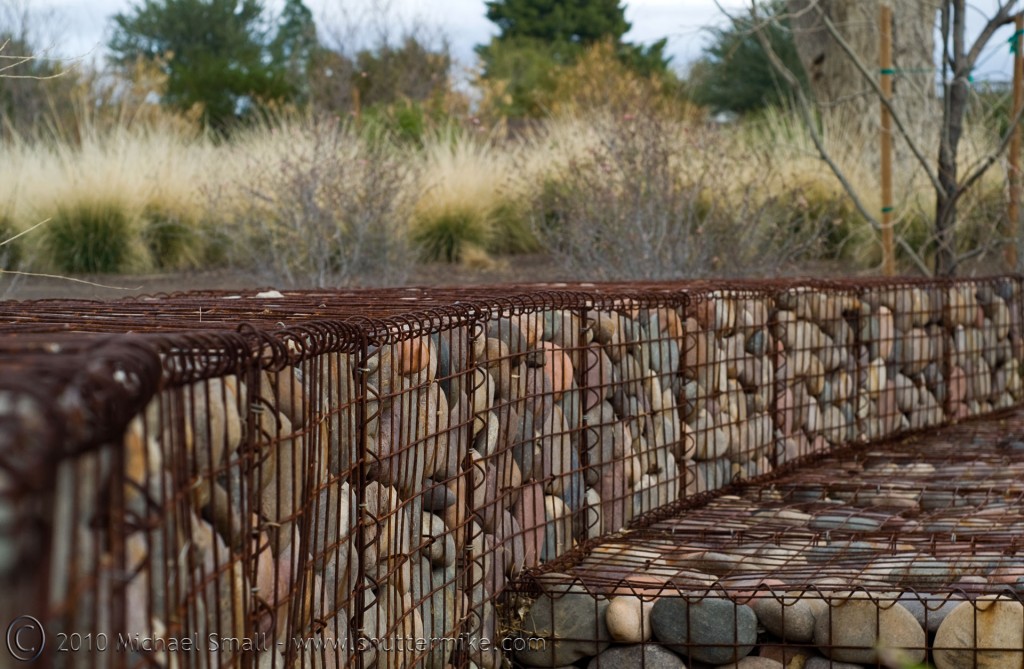 Caged Rocks
Scottsdale Xeriscape Garden
Caged Rocks
Scottsdale Xeriscape GardenXeriscape is a form of landscaping that is thankfully becoming more popular in Arizona. It refers to landscaping that relies little on supplemental irrigation because it mainly uses native plants that are adapted to the desert region. The Scottsdale Xeriscape Garden is located at Hayden and McDonald in Scottsdale, AZ.