Damien Franco is the editor of Your Photo Tips, a great resource blog with lots of tips to better your photography. He recently put a call out for his subscribers to write guest posts on The Importance of Photography. So I obliged and sent him a post that he quickly got up. Check it out.
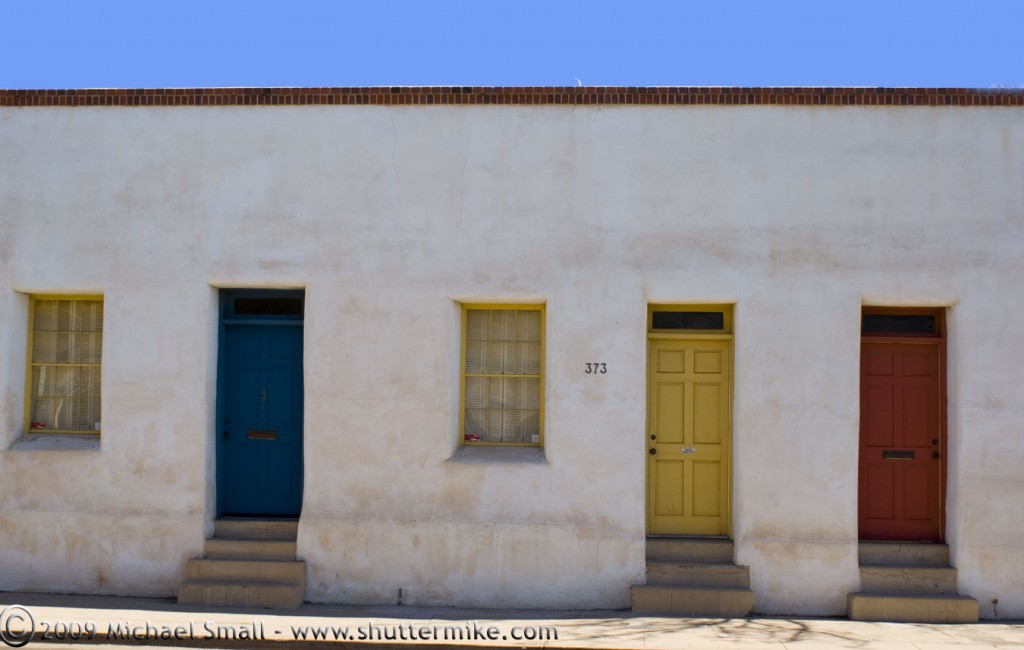
Barrio Historico Color
Tucson, AZ
f/9.0 – 1/200 sec – ISO 100 – Focal Length 30 mm
The Barrio Historico south of Tucson’s downtown is one of the most colorful and photographically rich areas in Tucson to explore and photograph. The opportunities for great shots are only limited by your imagination and what you see.
If you do any significant amount of portrait photography or just photograph people with any regularity there is a photo editing program you should take for a spin. Portrait Professional works very differently than any other photo editing software that I have seen. I can’t explain all the programming and magic that goes on in the background to make this work, but it makes quick and easy work of retouching portraits. If you download the free trial you will be able to play around with some of the great features of this program using either the sample portraits they provide or on your own photos. Here are some of the things you can do quite easily with Portrait Professional:
- Fix skin blemishes such as pimples, moles, and spots
- Reduce and/or remove wrinkles
- Increase attractiveness (according to the software’s definition I suppose) by reshaping any aspect of the face
- Remove sweat or shin on skin
- Change hair color and thickness
- Adjust lighting on the face
There is a lot to this program and it works very well. Did I mention how easy it is? There is not a lot of learning needed to jump right in and start retouching portraits either. I played around with retouching one of the program’s sample portraits and feel that the rich features, ease of use and great end results make Portrait Professional a bargain for even the amateur portrait photographer at about $60.
Here are some screen shots of the portrait retouching I did with the Portrait Professional sample photograph. Click on any image to enlarge.
 Other then the usual angst of teenage acne this kid is not bad off and his BEFORE portrait shouldn’t require too much work. The great thing about Portrait Professional is that it allows you to do simple retouches to save a teenager from embarrassment all the way up to getting Vogue model air brushing-like results. Either way it is a pretty simple process and models and teenagers (or even teenage models) can be cleaned up quite nicely.
 A step-by-step wizard of sorts walks you through the first part of the retouching process. It begins with defining the facial features. The software asks you to click on various parts of the face such as the left corner of the left eye. Once these reference points are established you will see your portrait marked up with blue lines as though a plastic surgeon has taken his Sharpie to the face to indicate what needs a little nip and tuck.
 The 3rd step is to take the blue markings that the program placed on your portrait and adjust them. This is done through lining up various points with the outline of the facial feature you are working on. In the case at left it is the boy’s right eye and eyebrow. A simple click and drag process is all you need to do in order to line the “plastic surgery” marks up with the various features.
 You will do this same process on each eye and eyebrow, the mouth (as shown at the right), the nose and then the face as a whole. After you have everything lined up as you like it is time to let the Portrait Professional program do its magic. I could not begin to explain exactly what this magic is, but my best guess is that it matches up the marked up facial features with a database of “ideal” positions and starts adjusting.
As you can see from the before and after comparison below this simple four step wizard does a pretty decent job of cleaning the portrait up. Pimples and blemishes are gone and we have a new photograph that any teenager should be happy with.

 But you do not have to stop at what the wizard has to offer. After you get to the “after” stage above, you can keep going with additional more detailed adjustments of every feature of a portrait you can image. The tool box (at left) offers categories to start your additional virtual plastic surgery with including face sculpt, skin, eyes and mouth. And each of these categories expands to reveal multiple features for you to play with using sliding scales to create the perfect portrait.
 The skin option for example, allows you to give your pale model a tan; remove wrinkles (not necessary for our test subject, but great for those of us with a few years behind us); close up those pesky pores; and reduce overall imperfections to just name a few.
Portrait Professional is a very specific photo editing program, in that it is limited to portraits. However, it has taken that one limited field of photography and produced a very good piece of software exclusively for it. All of the human “imperfections” that some may see as a distraction to the ideal portrait can be addressed with ease. The learning curve is not steep at all and most anyone with a small amount of photo editing knowledge can pick this program up quickly. Finally the price is very attractive considering all you get. Download the free trial and see what you can do to spruce up your portrait photography.
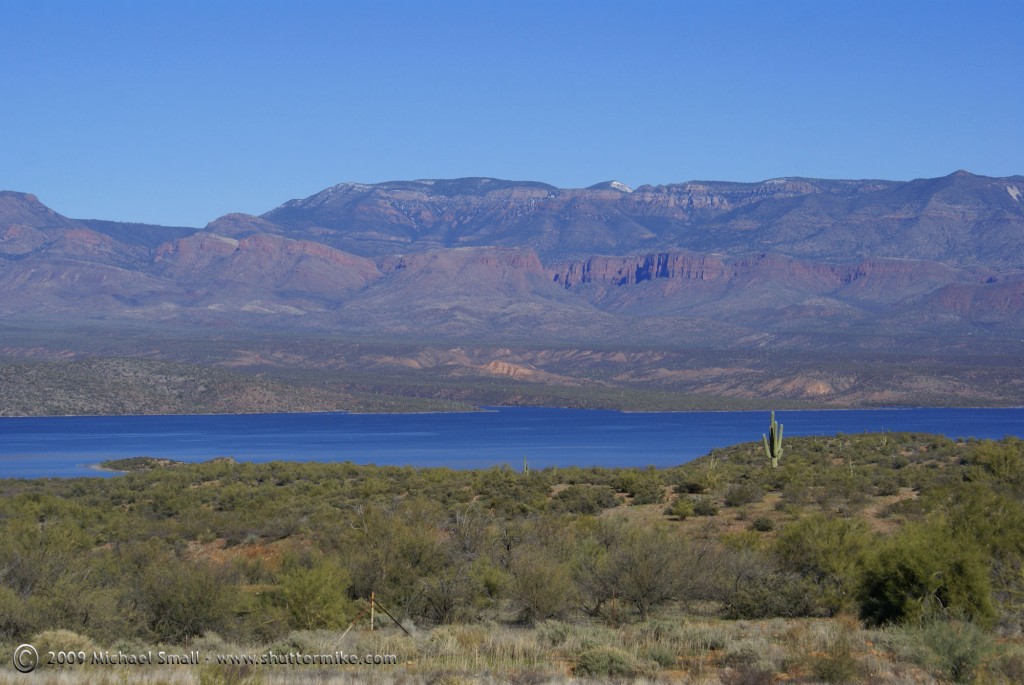 Roosevelt Lake – Tonto National Forest – Arizona
This photograph of the Tonto National Forest is a few months old, but it is of one of my favorite subjects to shoot, the Arizona desert. This shot was taken northeast of the Phoenix area near Globe and Roosevelt Lake.
 The Aaron Brother’s “Show Us Your America” contest that I wrote about a while back is ending soon. They are no longer accepting submissions but you can vote on the art that has been submitted until October 2nd. There is some really good art that has been entered into this contest and it is well worth browsing through the gallery.
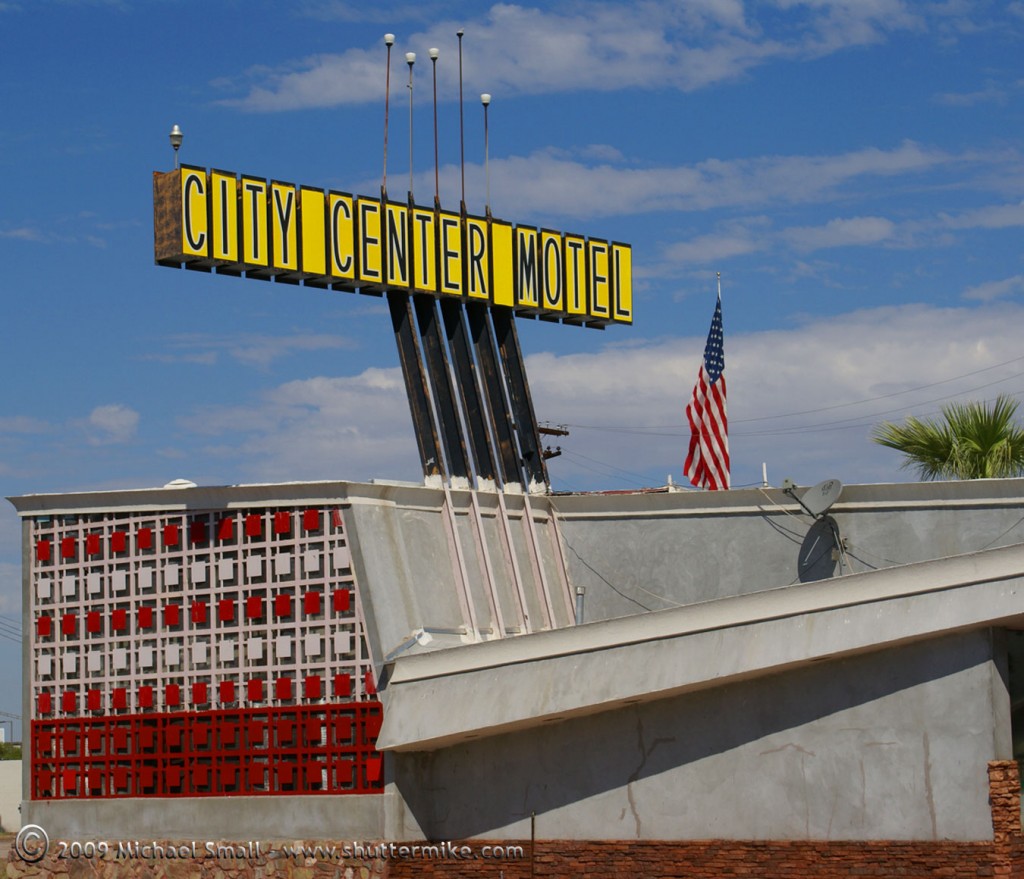 City Center Motel at Van Buren and Grand Ave in Phoenix, AZ
f/8 – 1-640 sec – ISO 100 – Focal Length 50 mm
This motel, on the edge of downtown Phoenix, is a classic 1950s/60s roadside motel. The building and sign design are very mid-century modern. Although I am sure its Travelocity rating (if one exists) doesn’t place it among the best places to stay while visiting Phoenix (the neighborhood and the motel itself have seen better days and to venture out after dark might require a large can of mace and an adventurous spirit) it is well worth a trip to the area to photograph. Especially if you like classic motels and their architecture and signs.
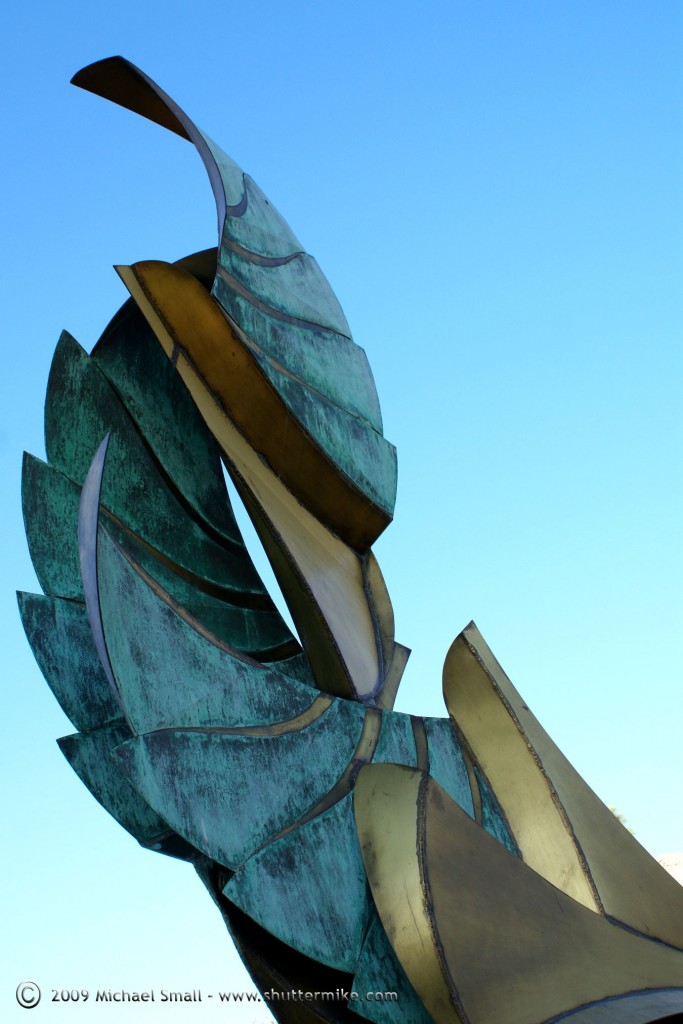 Wings of Phoenix Sculpture – Arizona Biltmore Resort – Phoenix, AZ
f/6.3 – ISO 100 – Focal Length 28 mm
This photograph was taken as part of a project for a digital photography class I am taking. The assignment was to select an outdoor space and photograph it using only the normal focal length while moving around it. The basic goal of the project was to really take the time to study a subject while taking photos from a distance, close up, from below and above and at various apertures and shutter speeds.
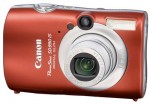 In my last post I talked about 5 things to pay attention to when photographing. I’ll take it one step further and say you can be scouting out potential photography subjects and be paying attention to these five things all the time. You never know when you might come across something you would like to photograph but may not have the time at the moment of discovery. A pocket size point and shoot camera and notebook kept nearby at all times come in handy for just these situations. You can take a quick snapshot (or 5 or 6) of the subject and jot down some notes as to the location and what it is you think you want to focus on when you return with your SLR or DSLR. Then when you return to your computer, down load the images and connect them up with your notes. You can do this either by printing the images and and transferring your notes to the back or even by pasting them into a Word document and typing in the notes. That way you have a file of future photography subjects to explore at a later date and you won’t end up scratching your head trying to remember where you saw that great photo opportunity.
 Pacific Design Center – West Hollywood, CA
As you would imagine for a building built to showcase design, The Pacific Design Center is a very beautifully designed building. This photograph is a few years old and actually taken in my pre-DSLR days with a Canon PowerShot G5. I have shown it here because I love the image and I hope to get the opportunity to get back to the LA area soon to spend a little more time exploring the PDC with my more advanced camera and a few more years of photography experience and know-how under my belt.


